

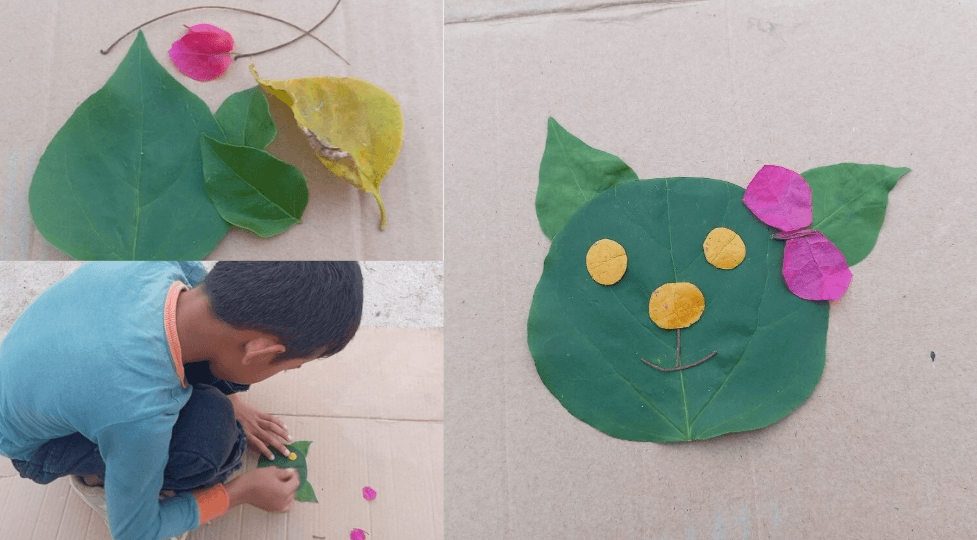
Yesterday afternoon, around 3 p.m., my son went out to the backyard to water the flowers and plants, just like he does every day. But once he finished watering, things got quiet. Too quiet. I glanced over and saw him crouched by the bushes, picking leaves one by one.
A little while later, a small cat face suddenly appeared on a piece of cardboard, complete with a pretty pink bow on one ear. It took me a second to realize my son hadn’t found a cat at all. He’d built one, out of leaves and a single flower petal.
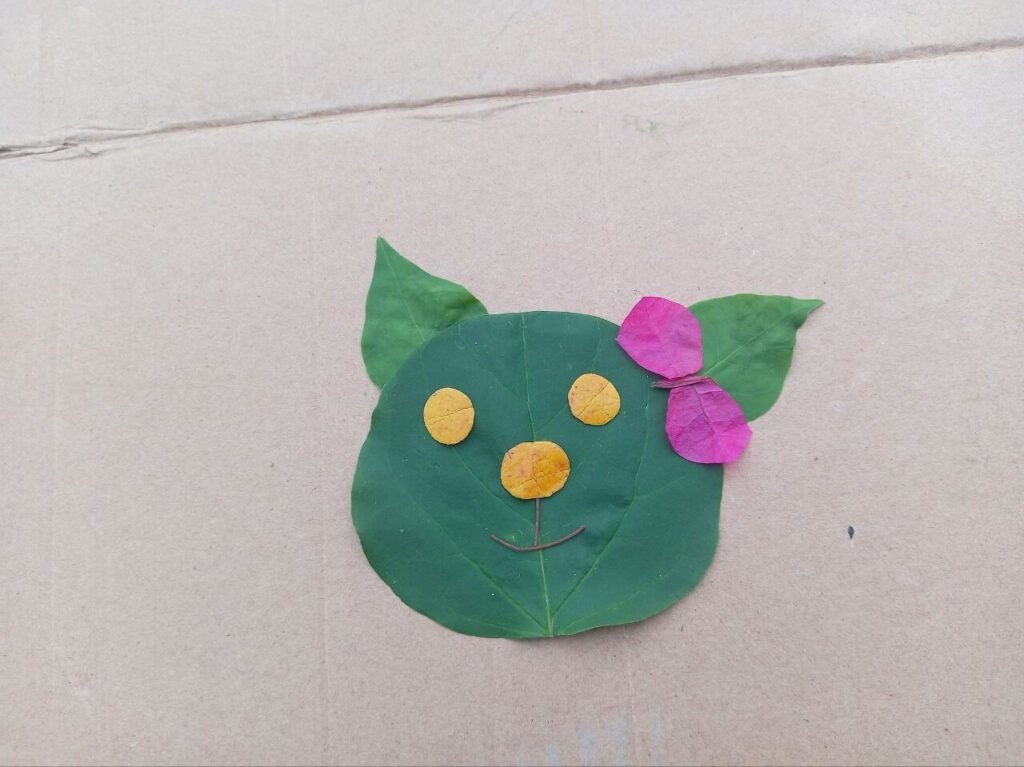
That’s how we stumbled into one of our favorite screen-free activities: a leaf animal-faces craft made almost entirely from things already in our backyard. If you’re looking for a free, budget-friendly, no-glue outdoor craft that keeps kids busy without buying a single supply, this one is worth trying.
What You’ll Need for This Craft
You don’t need a trip to the craft store for this project. Just look around your house and garden for:
- 1 piece of recycled cardboard: An old box works fine and doubles as a sturdy outdoor canvas.
- A handful of green leaves in different shapes: Round ones for the face, pointy ones for the ears, and small ones for extra details.
- Colorful flower petals or yellow leaves: Look for pink bougainvillea, hibiscus, or fallen autumn leaves for eyes, noses, and bows.
- Optional: Child-safe glue or double-sided tape, if you want to keep the finished piece permanently.
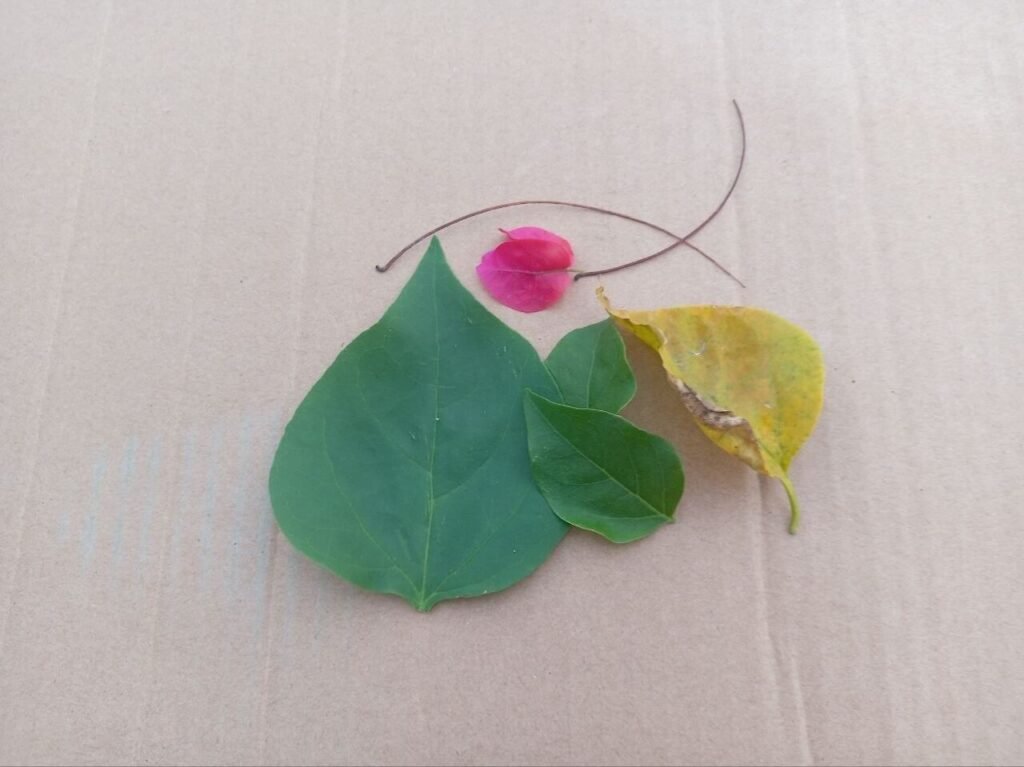
That’s the whole list. This is one of the easiest recycled cardboard crafts for kids, and it’s about as eco-friendly as kids’ craft ideas get, since almost everything comes straight from what’s already growing outside.
Step 1: Go on a Backyard Treasure Hunt
Grab a small basket or bag and head outside with your child. A quick walk around the yard, garden, or nearby park is really a backyard scavenger hunt in disguise, and kids tend to get into it fast once you turn it into a little challenge.
Try asking prompts like:
- “Can you find a big green leaf for the head?”
- “Let’s look for two matching petals to use as ears.”
Parenting Safety Tip: Stick to leaves that have already fallen, or gently clip a few from plants you know are safe. As a general rule for outdoor play, we always remind younger children to collect only fallen leaves and to wash their hands after handling outdoor plants and soil.
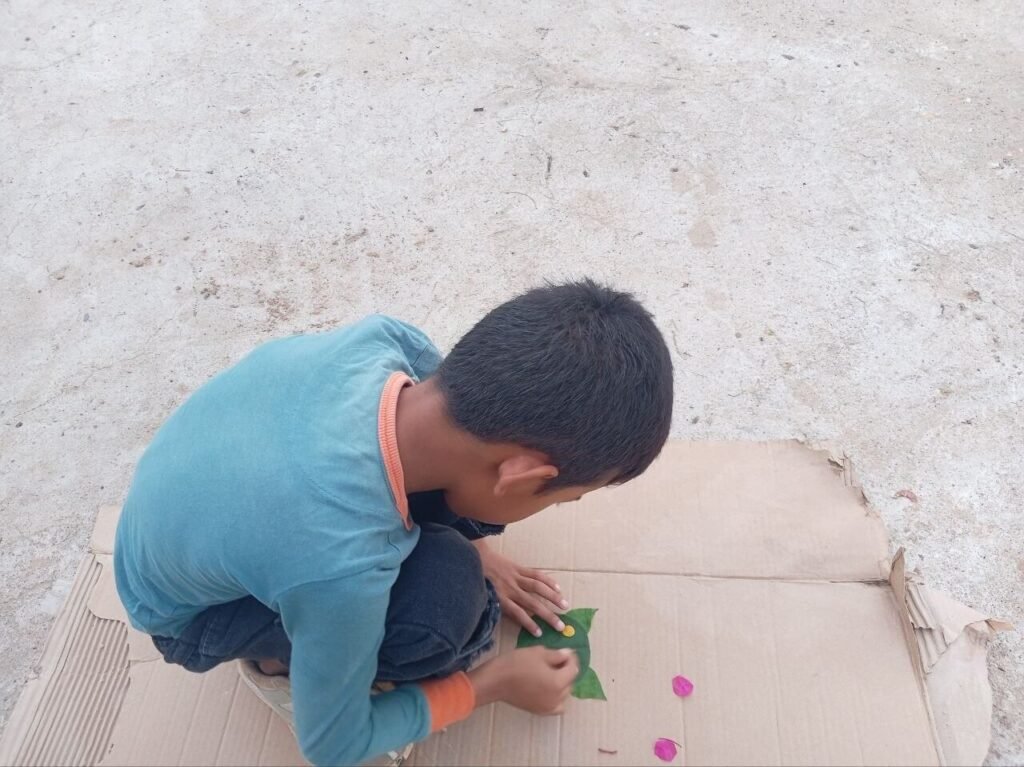
Step 2: Set Up the Cardboard Canvas and Sort the Finds
Lay the cardboard flat on the ground or a table. Then let your child spread out everything they collected and sort it by shape, size, or color. This part alone can take a while, and that’s fine. Digging through a pile of leaves and petals is honestly half the fun for a lot of kids.
Why This Simple Craft is Great for Child Development
Beyond being a fun way to spend a quiet afternoon, backyard leaf crafting naturally supports several core early childhood skills:
- Fine Motor Skill Development: Picking up thin petals, sorting leaves by stem size, and placing small grass “whiskers” require delicate pincer grasp movements and hand-eye coordination.
- Sensory & Tactile Play: Fresh leaves, rough cardboard, and smooth flower petals offer low-stimulation sensory engagement without the mess of indoor slime or paints.
- Open-Ended Creativity: Because there is no glue or permanent placement, kids practice flexible thinking and problem-solving as they experiment with different facial expressions and animal shapes.
Step 3: Build the Leaf Animal Faces Craft
Now comes the part everyone’s been waiting for: turning the pile of leaves into a face.
- Head: Place the largest, roundest leaf flat in the middle of the cardboard.
- Ears: Tuck two small, pointed leaves under the top corners to shape ears for a cat, fox, or owl.
- Eyes and Nose: Use small petals or yellow leaves to fill in the features.
- Extra Touches: A bright petal makes a great bow or bowtie, and a few thin blades of grass work well as whiskers.
There’s no single “correct” way to arrange it. Let your child move pieces around until the face looks right to them. This works well for toddlers and older kids alike, since there’s no cutting or gluing required unless you want it.
Step 4: Enjoy (and Reuse) the Finished Craft
Once the face is finished, snap a photo to remember it. This part matters more than it sounds, because this reusable leaf craft doesn’t have to end after the first design.
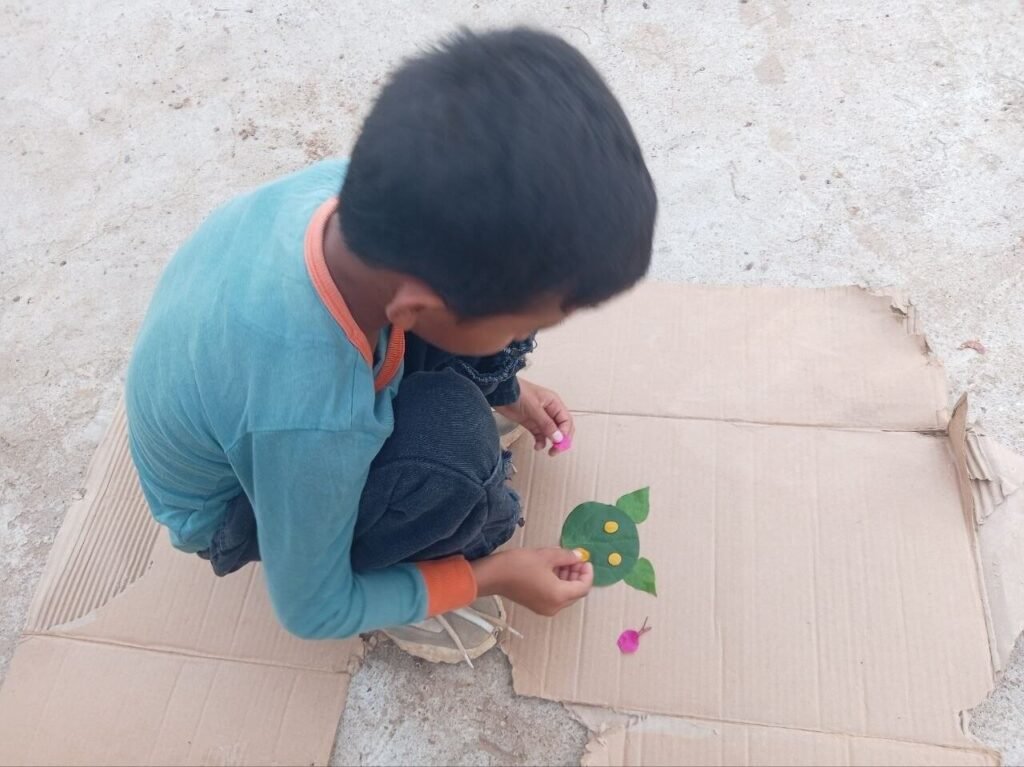
Since we skipped the glue, my son was able to rearrange the same leaves again and again, turning one afternoon into a cat face, then a dog face, and eventually something he called an “alien face,” all from the same handful of backyard finds.
If your child enjoys the reusable version, this becomes a free outdoor craft you can pull back out on any slow afternoon.
A Few Tips to Make This Easier
- Use fresh leaves: Fresh leaves are more flexible and easier to shape than dry ones, so collect them the same day if you can.
- Watch for wind: If it’s windy outside, weigh down loose leaves with a small stone while your child works.
- Keep spares ready: Keep a few extra leaves and petals on hand in case a delicate piece tears.
- Take photos as you go: Leaves shift easily, and it’s easy to lose track of a design layout your child really liked.
Final Thoughts
What started as a quiet five minutes in the backyard turned into one of our go-to activities. This leaf animal faces craft costs nothing, uses materials most families already have on hand, and can be redone over and over without buying a single extra supply.
Next time your child goes quiet in the yard, take a peek. You might find your own leaf masterpiece waiting on a piece of cardboard.
Disclaimer: The ideas and routines shared on TheParentings reflect my personal experiences as a mother and primary school teacher. This content is for informational purposes only and is not a substitute for professional medical, developmental, or psychological advice. Always consult your pediatrician with specific concerns regarding your child’s health or safety.
