

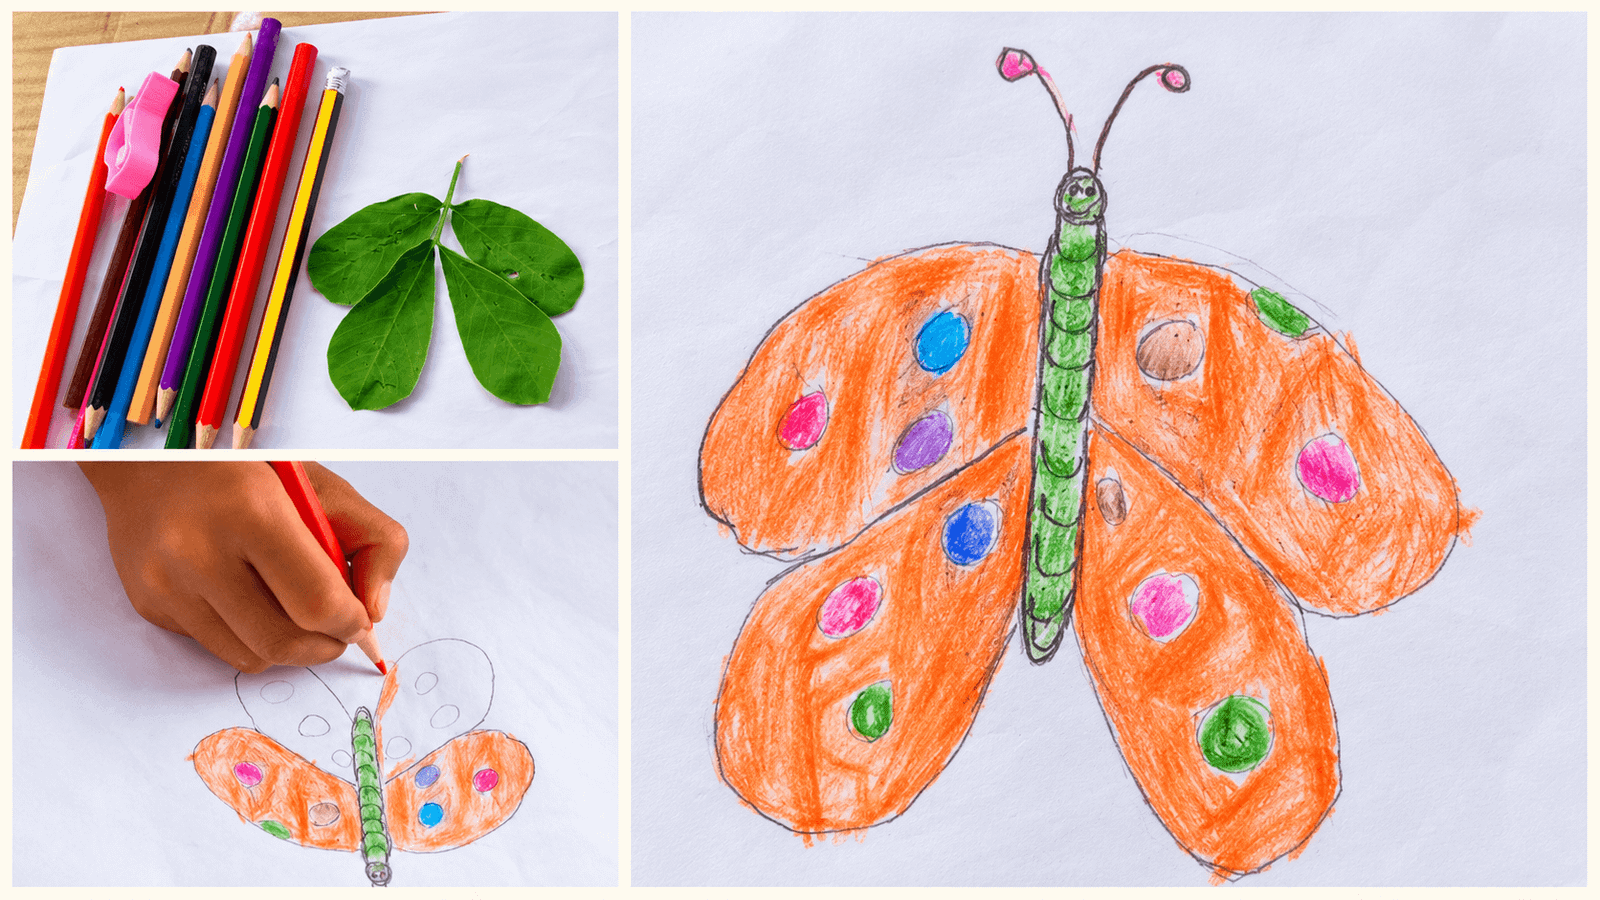
Yesterday afternoon, after my son finished his homework, he went out to check on the backyard plants, as he usually does. This time he came back carrying a handful of leaves. A little while later, those simple leaves had turned into a bright, colorful butterfly.
If you are looking for screen-free afternoon activities for kids, this leaf-tracing butterfly is a great one to try. It needs nothing more than a short walk outside and a few basic art supplies.
It is an easy nature craft for 8-year-olds; it takes almost no prep, and it makes a fun outdoor art activity for kids that takes about an hour.
Here is exactly how we turned a few green leaves into butterfly art.
Quick Facts
- Best for: Ages 6 to 10 (my son is 8)
- Time: About 1 hour
- Cost: Free, if you already have paper and pencils
- Prep: Almost none
What You Need for This Butterfly Craft With Leaves
You probably have everything at home already.
- Fresh leaves: Look for leaves with interesting shapes. We found that small, round leaf clusters work best for butterfly wings.
- Blank white paper: Standard printer paper works perfectly.
- Colored pencils: A pack of assorted colors is plenty.
- A regular pencil and an eraser: These are for the first tracing and sketching.
- A sturdy backing: We used a flat piece of repurposed cardboard to make a firm drawing surface while working outside.

How to Make a Leaf Tracing Butterfly for Kids
Step 1: Take a Nature Walk and Collect Leaves
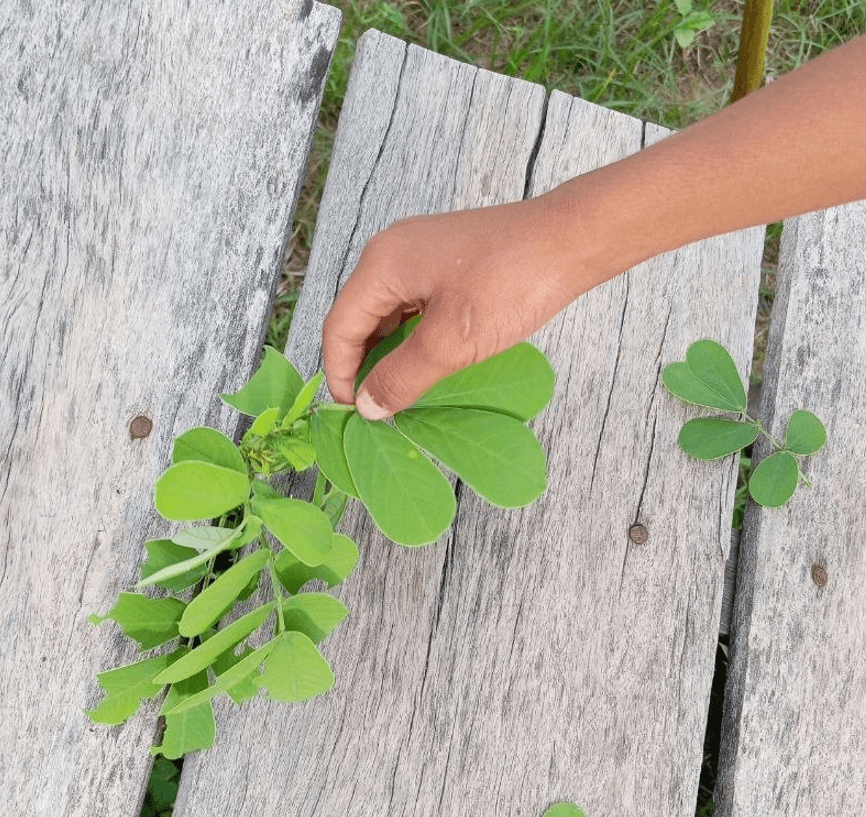
The first part of this activity gets you outdoors. Walk around your backyard or a local park and look for leaves. Choose leaves that are flat and not too dry, because brittle leaves crack when you try to trace them.
We found a little branch with round, green leaflets. When you pick leaves, look for a symmetrical pair (matching on both sides) or a natural cluster that already looks like a set of wings.
Step 2: Set Up Your Drawing Space
We love doing art projects outside on the porch, so we placed a large piece of cardboard over our textured bamboo table.
That gave us a hard, smooth surface to draw on. Lay the white paper on top, put your chosen leaves in the center, and set out the colored pencils. A simple setup is all you need.
Step 3: Trace the Leaves to Make Butterfly Wings
At first, my son wasn’t sure what he wanted to draw. We talked it over for a bit, and he suggested a bird, saying, “This leaf looks like a bird.” I asked him, “What do you think? Mom wants you to draw a butterfly, because this leaf looks almost exactly like a butterfly.” He looked again, surprised, and agreed: “You’re right, Mom, I’ll draw a butterfly instead!”
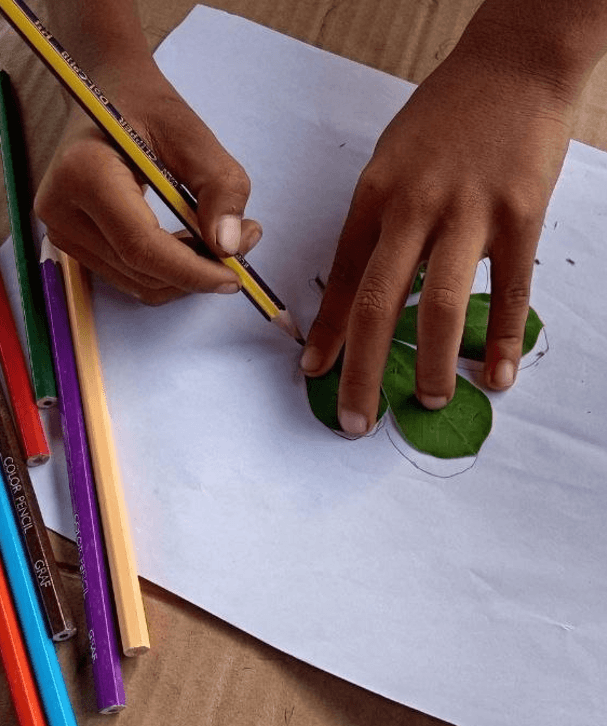
So we got started. Have your child lay the leaf flat in the center of the paper. One hand presses the leaf down firmly while the other traces around the outer edge with a regular pencil. Trace the shape twice, once on the left and once on the right, to make both sides of the butterfly’s wings.
Step 4: Sketch the Body and Add Details
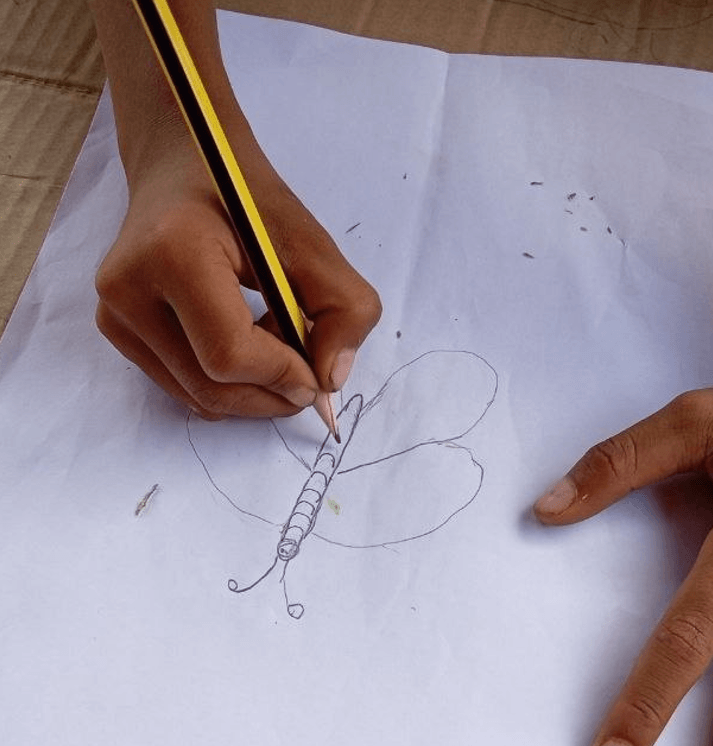
Once the wings are outlined, lift the leaves away. Now you have two wing shapes with a gap in the middle to fill in. Have your child draw the body straight down the center, connecting the two sides.
I will admit I sat nearby and offered a few gentle ideas, like adding a head, a pair of antennae, and dashed lines across the body. Then let your child fill the wings with patterns such as circles, swirls, or shapes. There is no wrong way to do this part.
Step 5: Color the Butterfly With Colored Pencils
When the pencil sketch is done, bring out the colored pencils. We chose bright, warm colors so the butterfly would really stand out. Colored pencils worked better than markers for us because you can layer and blend colors, which gives the wings a richer look.
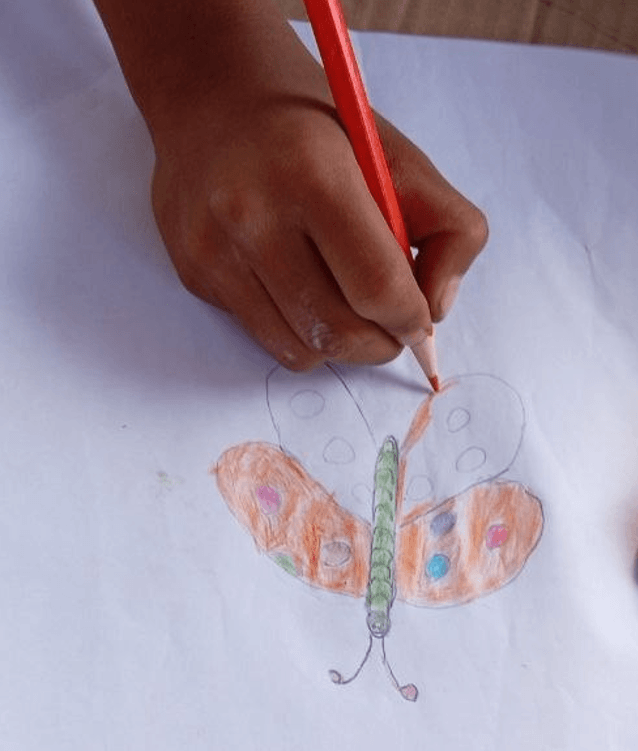
Step 6: The Finished Butterfly Art
After some time of working quietly, the leaf-traced sketch had become a multi-colored butterfly. I had suggested black and green, but he insisted, “I want bright colors to match nature.” I said, “Okay!” The final butterfly had bright orange wings with spots of green, blue, pink, and purple, and a green striped body with curly antennae.
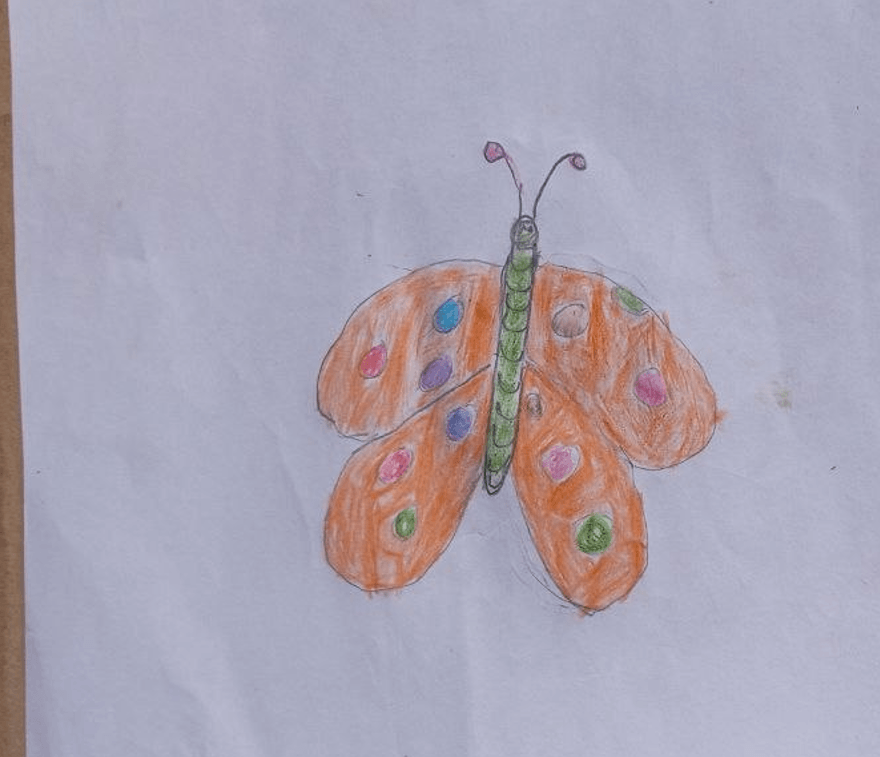
Why We Love This Nature Art Project
Beyond being a nice way to spend an hour, here is what we enjoyed most:
- It connects art with nature. Kids look at ordinary leaves and start imagining what else they could be.
- It costs almost nothing. The backyard supplies the main material, and the rest is already in your drawer.
- The child makes the choices. The leaf gives the outline, but your child decides the colors, patterns, and final look.
More Leaf Drawing Ideas for Kids
Once you have made one butterfly, you can keep going. Our first idea, remember, was a bird. Here are other leaf animal art ideas for kids to try:
- Fish: Long, narrow leaves make a good fish body. Add a tail and fins.
- Bird: Trace a round leaf for the body, then draw the beak, eyes, and feathers.
- Owl: Two round leaves side by side make a fun set of owl eyes.
- Leaf rubbing: Slide a leaf under the paper and rub a pencil sideways to reveal the veins, then turn the shape into a creature.
If your child enjoys this, look for other nature art projects for kids that start with a walk outside and end with something they made themselves.
Try a Leaf Tracing Butterfly for Kids This Weekend
The next time you have a free afternoon, grab a sheet of paper and see what shapes you can find in your own backyard.
A leaf tracing butterfly for kids is an easy way to turn a walk outside into something they can show off. What kind of leaf animals will your kids create?
Disclaimer: The ideas and routines shared on TheParentings reflect my personal experiences as a mother and primary school teacher. This content is for informational purposes only and is not a substitute for professional medical, developmental, or psychological advice. Always consult your pediatrician with specific concerns regarding your child’s health or safety.
