

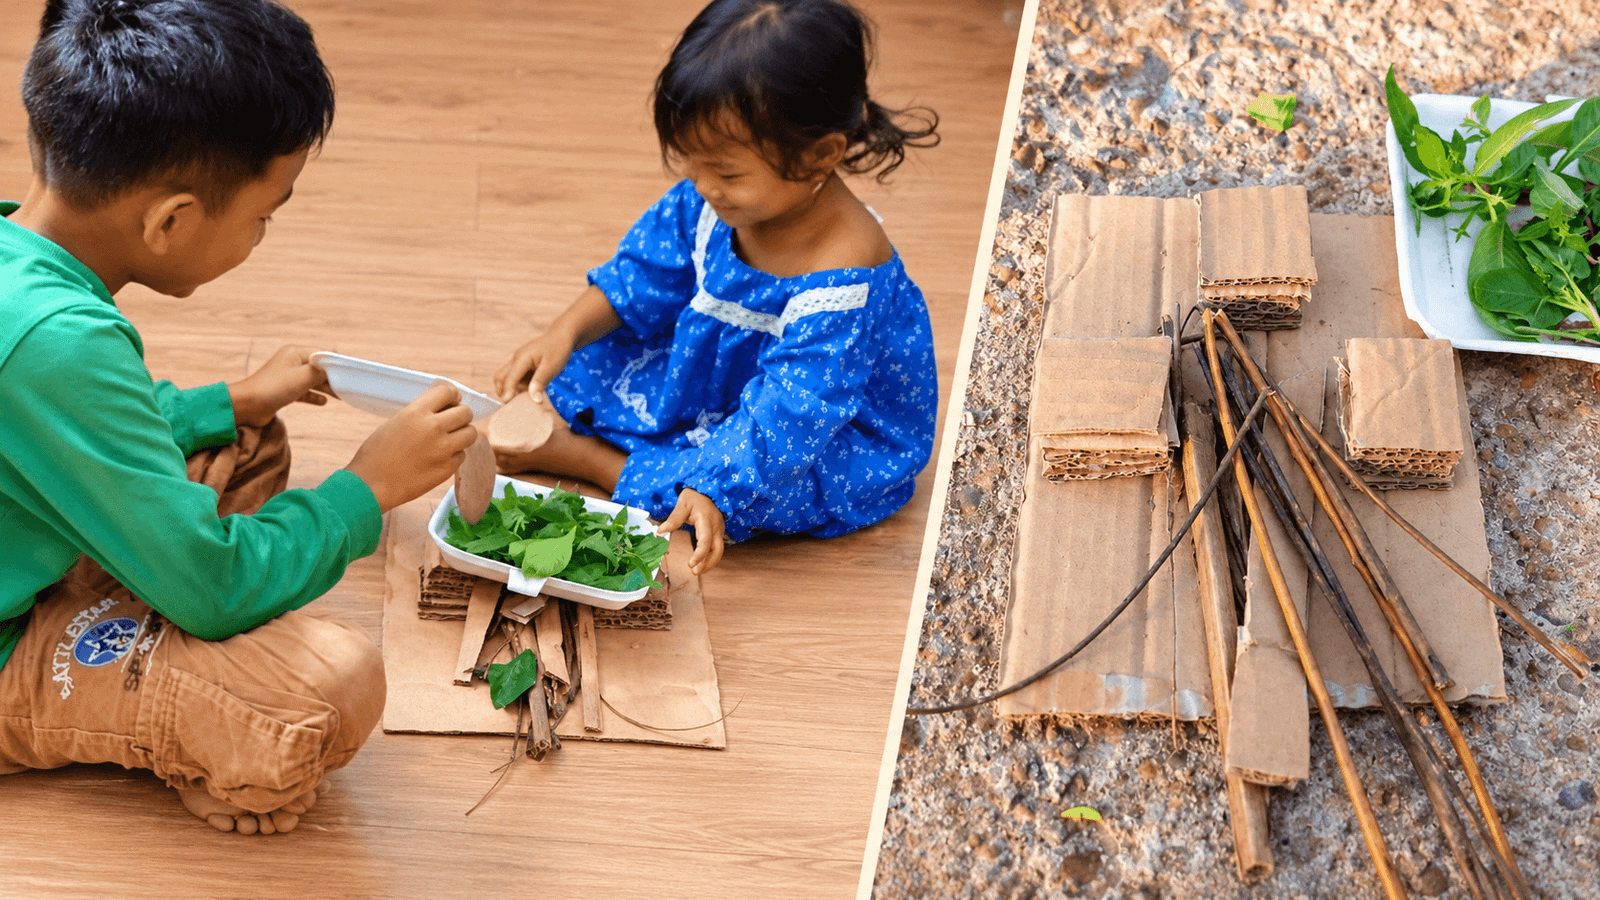
Pretending to be a chef is always near the top of my kids’ play list. But if you have ever looked at plastic or wooden play kitchens, you know they are bulky and take over half the living room.
I have an 8-year-old and a 3-year-old, and I am always looking for ways to spark their imagination without filling our home with big toys.
My favorite solution is a cardboard box stove for kids. It needs no special tools, cleans up in seconds, and lets kids play with it indoors or outdoors. With a few things from your recycling bin, you can put together a cardboard box kitchen stove in about ten minutes.
It is a simple DIY cardboard play kitchen that works as a recycled box play kitchen for small spaces, too.
The best part is that when they step on it or crush it a few weeks later (which always happens), you just recycle it and make a new one. Here is how we make ours at home.
Why We Love Making Toys from Cardboard Boxes
I am a primary school teacher, and I love upcycling old items. Upcycled toys from cardboard boxes show children how to make the most of what they already have.
When kids realize a plain brown box can become a stove, a car, or a boat, they start looking at everyday objects in a whole new way. They stop waiting for a store-bought toy and start making their own fun.
Building a stove together is also a great team project. My 8-year-old son loves taking charge as the construction director, while my 3-year-old daughter happily waits her turn to be the head chef.
What You Need for This Cardboard Stove Craft for Kids
You do not need to buy anything for this project. Gather a few things from around the house:
- A medium-sized cardboard box: Diaper boxes and medium shipping boxes are perfect.
- Strong glue or tape: For attaching the stove knobs.
- Scissors or a box cutter: (For adult use only).
- A black marker.
- Four plastic bottle caps or jar lids: To use as stove dials.
- Optional: A brass split pin, if you want the knobs to turn.
- Optional: Small sticks to look like firewood.
- Optional: Old plastic bowls, shallow dishes, or a clean food container to use as pots and pans, plus some leaves for “food.”
How to Make a Cardboard Box Stove for Kids (Two Methods)
Since I often make these for my kids to play with, I use two methods. The first is a quick version so they can start playing right away, though it is less durable. The second makes a sturdier stove that can be saved for future play.
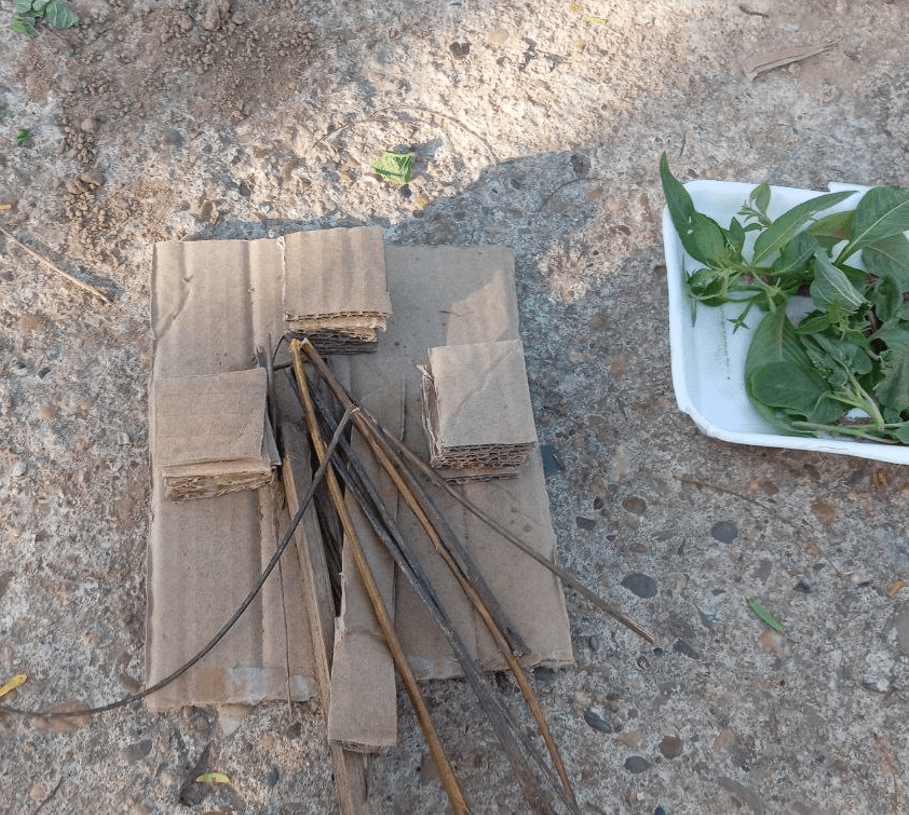
(Note: The photos featured in this article show our kids playing with the quick, flat-lay version from Method 1, which uses sticks and stacked cardboard squares!)
Method 1: The Quick, Short-Term Stove
This is the easy cardboard stove for toddlers and older kids who just want to start cooking.
- Cut the base. Cut a flat piece of cardboard into a square or round shape, whichever you like. This is the body of your stove.
- Make the burners. Cut several smaller square or round pieces of cardboard. Stack them on top of each other to build each burner, so the kids have a raised spot to set their pots.
- Add the firewood. Place a few small sticks beside the burners to look like firewood. Now it is ready to go.
Method 2: The Long-Lasting Stove
Making this cardboard box kitchen is not about making it look perfect. It is about setting it up quickly so the kids can play right away.
- Prepare the box. Tape the top and bottom flaps of the box shut so it becomes a sturdy block. Lay it flat with the largest surface facing up. This will be your stovetop.
- Draw the burners. Hand a black marker to your older child, or draw them yourself if your little one is too young. Draw four large circles on the top of the box. To make them look like electric stove coils, add a continuous spiral inside each circle.
- Add the stove knobs. Glue or tape the plastic bottle caps to the front of the box, just below the stovetop. This is an easy DIY play stove with bottle caps. If you want the knobs to turn, push a brass split pin through the center of each cap and the cardboard. if you want to keep it simple, just tape or glue them straight onto the box.
- Cut an oven door (optional). For a cardboard box oven with an opening door, use a box cutter to cut a square on the front of the box. Leave the bottom edge uncut so the door folds down like a real oven door. Kids absolutely love opening and closing it to “bake” their pretend food, and this step turns the box into a cardboard oven for kids as well.
How We Play with Our Cardboard Box Kitchen
This pretend play kitchen DIY works almost anywhere. Here is how it has gone in our house.
Outdoors
Once the stove is built, we head out to the backyard garden. There are plenty of natural vegetable leaves the kids can pick, so the pretend cooking starts all on its own.

In my recent article about Screen-Free Play for 8-Year-Olds, I shared how we draped a blanket over two chairs to make a food stall in the backyard. We brought out our little stove, and the kids spent over an hour “cooking” leaves, grass, and dirt in their plastic dishes.

Indoors
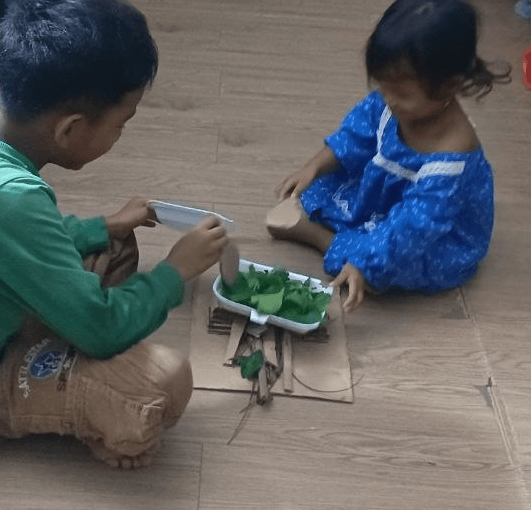
Two days later, the stove was still in one piece, and it was raining, so the kids brought it inside to play again. Their dad picked some leaves for them, and they pretended to cook with cardboard utensils and a white styrofoam container as the pot.
Still, their absolute favorite is taking the stove out to the garden. It gives them wide, open space, and they can pick fresh leaves to add to the game.
Make a Cardboard Box Stove for Kids This Weekend
A cardboard box stove for kids proves you do not need a big store-bought toy to give children a wonderful childhood. With a little tape, a marker, and some imagination, they can create their own fun.
If your kids love outdoor crafts, a cardboard box kitchen pairs well with other upcycling projects, like our easy recycled boat craft for kids, the Backyard Pirate Adventure. Try making a stove this weekend, and see what your little chefs cook up!
Disclaimer: The ideas and routines shared on TheParentings reflect my personal experiences as a mother and primary school teacher. This content is for informational purposes only and is not a substitute for professional medical, developmental, or psychological advice. Always consult your pediatrician with specific concerns regarding your child’s health or safety.
