

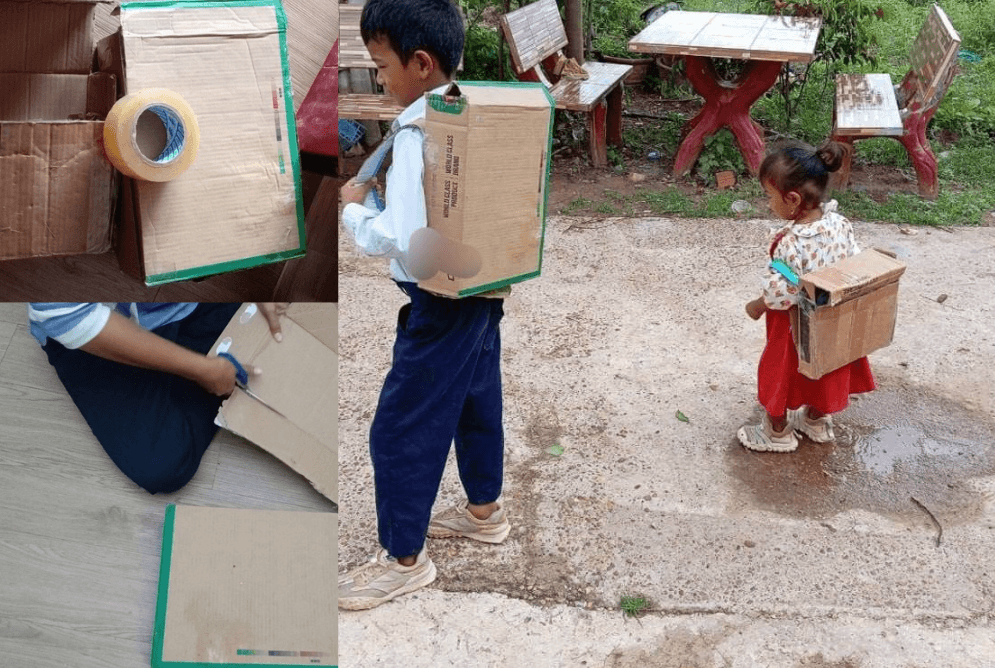
Yesterday morning, my 8-year-old son gathered his books and school supplies like he does every day. He stood by the door, pressed his hands together in a sampeah (a gentle palms-together gesture we use at home to say goodbye and show respect), slung his backpack over his shoulders, and headed off to school.
My 3-year-old daughter was watching every second of it. She copied her big brother and pressed her own little hands together too. But the moment he stepped out the door, she pointed straight at his backpack and started saying, “That, that…”
I knew right away what she wanted. By 3:00 PM that afternoon, I had an idea. Instead of buying her a bag, I could make a homemade version for both of my kids using things I already had at home, and it wouldn’t take more than a few minutes.

Why This Simple Box Craft Was a Lifesaver
My daughter didn’t want a new plastic toy. She wanted to feel like her brother, carrying her own gear and heading out the door just like him.
That’s really what this activity is about. It’s one of those easy upcycled projects that turns an empty box sitting in the corner of your house into something your child will actually want to wear and play with.
It is also a fantastic eco-friendly craft. No trip to the store, no leftover plastic taking up space later. Just a box that was going to be thrown out anyway, given a second life as something your child gets excited about.
What You Need for This Easy Craft
You probably already have everything sitting around the house.
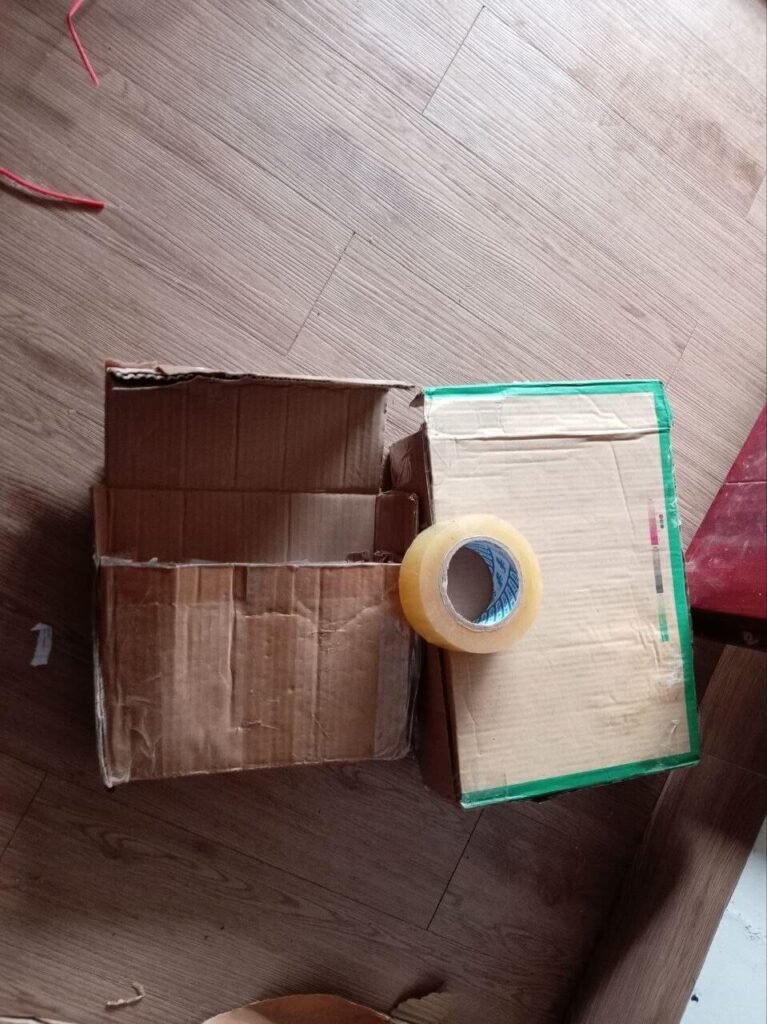
- 2 small, empty boxes: Small shipping boxes or sturdy cereal boxes work perfectly. (Grab a third one if you have it, which gives you extra material for the straps).
- 1 roll of tape: Double-sided tape holds the best against toddler tugging, but heavy-duty packing tape works too.
- 1 pair of scissors: Depending on how you want to shape the openings.
This is a completely no-sew project from start to finish. No needle, no glue gun, nothing complicated. It’s the kind of quick activity you can pull together while dinner is cooking.
Time needed: About 2-3 minutes per bag once you get the hang of it.
How to Make a Pretend Play Backpack in 3 Simple Steps
Step 1: Cut the Opening
Take one of your empty boxes and cut a bit off the top. You can cut it straight across or angle it, whichever looks better to you. This becomes the opening where your child will “pack” their supplies.
Step 2: Make the Straps
Using a spare piece of cardboard, or the scraps left over from the first box, cut out two long straps.
Tip: If you’d rather skip cutting thick cardboard, a piece of sturdy string, thick yarn, or ribbon works just as well and can be softer on the shoulders.
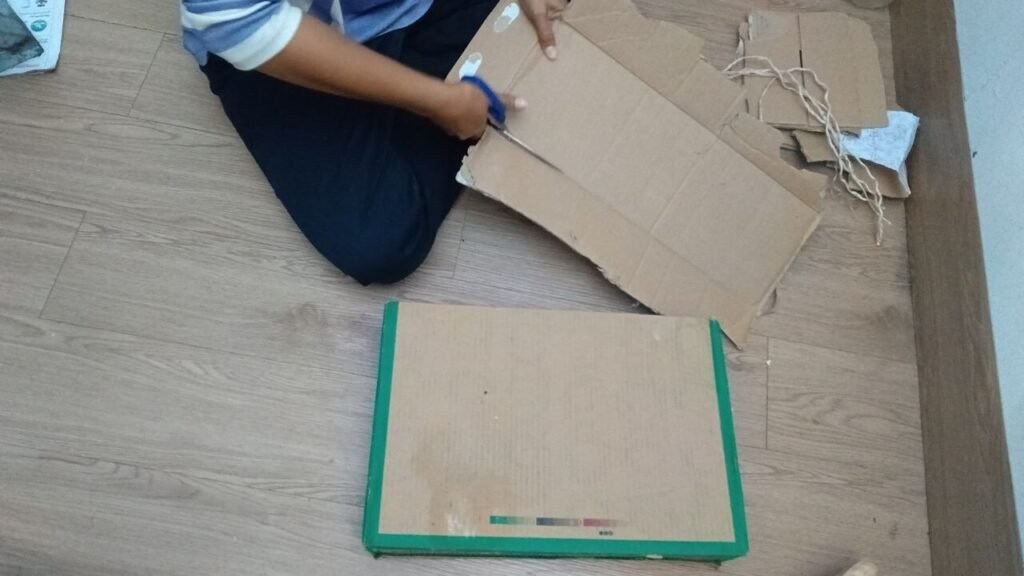
Step 3: Attach the Straps to Finish
Once your straps are ready, use the double-sided tape to attach them securely to the back of the box. Press down firmly on the tape for a few seconds to ensure a tight bond. That’s it. Your project is done.
Quick Safety Tips for Cardboard Crafts
Before handing the finished product over to your little one, do a quick safety check. Ensure no leftover staples are hiding in the shipping box.
If you used scissors to cut thick cardboard, sometimes the edges can be slightly sharp or rough. You can easily fix this by folding a piece of clear packing tape over the exposed edges to make them smooth.
Also, it helps to do the cutting part while your little one is napping or playing in another room. Little hands are curious hands, and it’s just easier to focus on scissors when they’re occupied somewhere else!
What to Pack in a Pretend School Bag
Part of the fun is letting your toddler fill up their new bag. If you need some ideas that fit well inside a small box, try:
- A few chunky crayons and a small notebook.
- Their favorite small board books.
- A lightweight plush toy or teddy bear.
- An empty, clean snack container for their “lunchbox.”
The Big Reveal
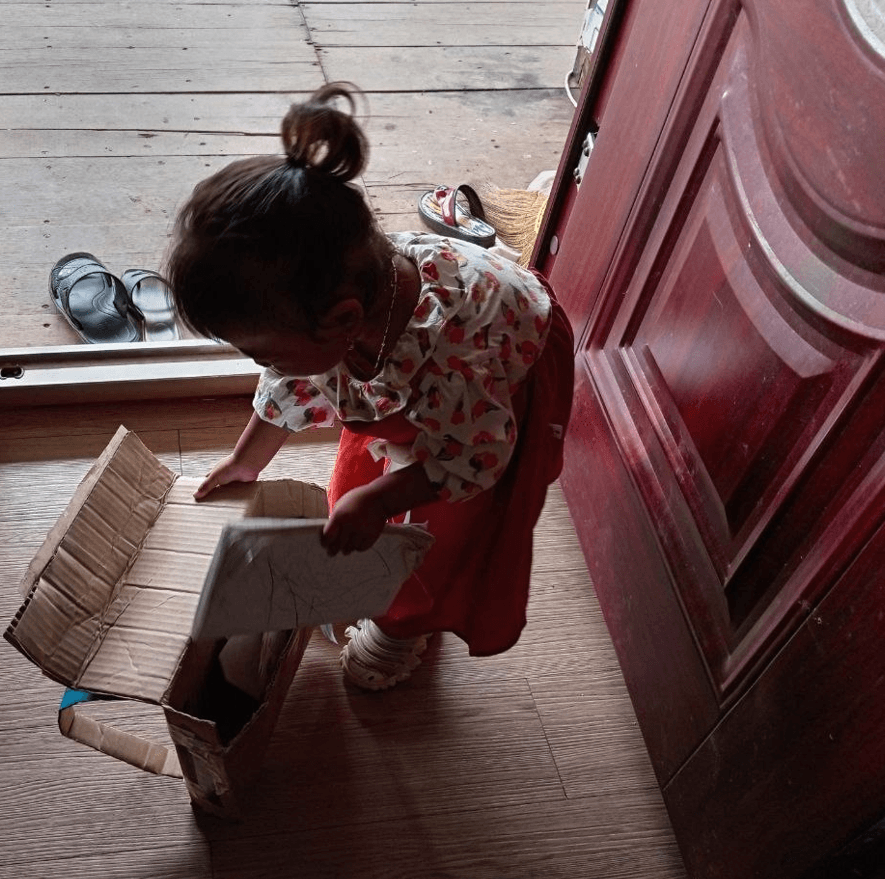
As soon as I finished the first one for my daughter, my son spotted it and asked, “What’s that, Mom?”
“It’s a school backpack,” I told him.
His face lit up. “Wow! That looks awesome. Can I try it on?”
To keep the peace between them, I suggested, “Why don’t you take this one and help your little sister pack her books first?” While they were busy with that, I grabbed another two minutes and made a second one, this time for him.
The Final Result: Off to “School” We Go!
Once both kids had packed their books into their new bags, they proudly put them on and pretended to head off to school, which in reality meant a short walk to our backyard.
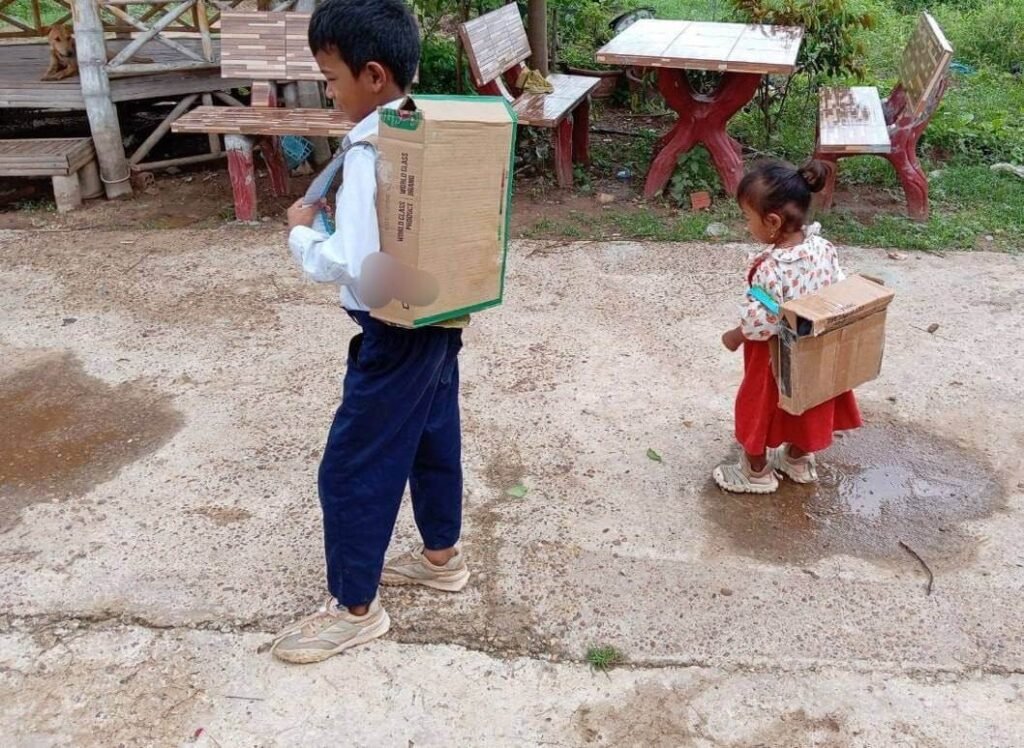
The whole way there, they were chatting and singing together. A few minutes later, they reached their destination and sat down to play, just like they always do.
Watching them turn a couple of old boxes into their own little adventure was honestly the best part of my afternoon. It’s a small sibling activity, but it kept them entertained together for a good while, and that’s really all I was hoping for.
Final Thoughts
This quick craft started as a way to stop my daughter from feeling left out of her brother’s morning routine, and it turned into something both of my kids genuinely enjoyed together.
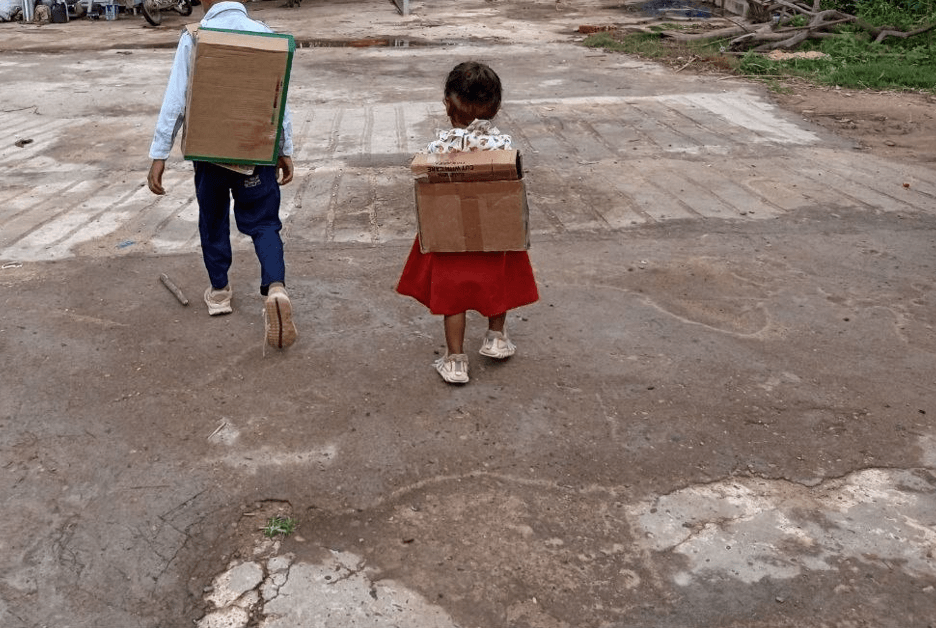
If you have a toddler who’s watching an older sibling head out the door every morning, grab a spare box and give this one a try. It costs nothing, takes just a few minutes, and might just become part of your own morning routine too.
Disclaimer: The ideas and routines shared on TheParentings reflect my personal experiences as a mother and primary school teacher. This content is for informational purposes only and is not a substitute for professional medical, developmental, or psychological advice. Always consult your pediatrician with specific concerns regarding your child’s health or safety.
