

Last Sunday at 11:30 AM, we were sitting down for lunch and mapping out the afternoon. At 4:00 PM, we were supposed to head to the market for daily necessities and new school supplies for our 8-year-old son.
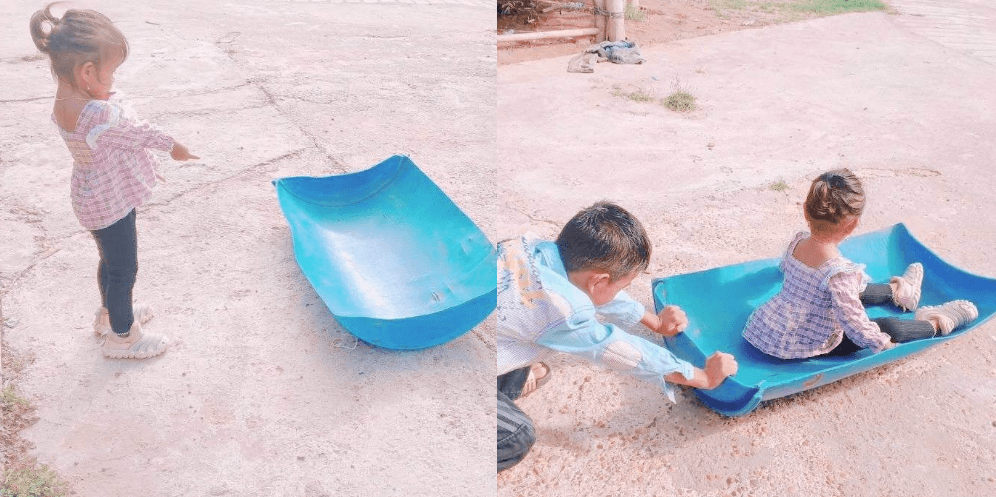
By 3:00 PM, everyone was dressed and ready. Then, at 4:15 PM, our 3-year-old daughter wandered out to the front patio, pointed toward the yard, and said, “There, there… go, go!”
That was the end of our shopping plans. What replaced them was an afternoon of “vroom, vroom” and sibling laughter, all thanks to a DIY ride-on toy from a plastic barrel that had been sitting in our yard for weeks.
If you have a spare barrel, a bucket, or really any sturdy plastic container lying around, this might be one of the easiest free toys you can make for your kids, too.
The Toy That Changed Our Plans
A while back, my husband had taken an old blue plastic barrel and cut it in half, turning it into a rocking, sliding plaything for the kids.
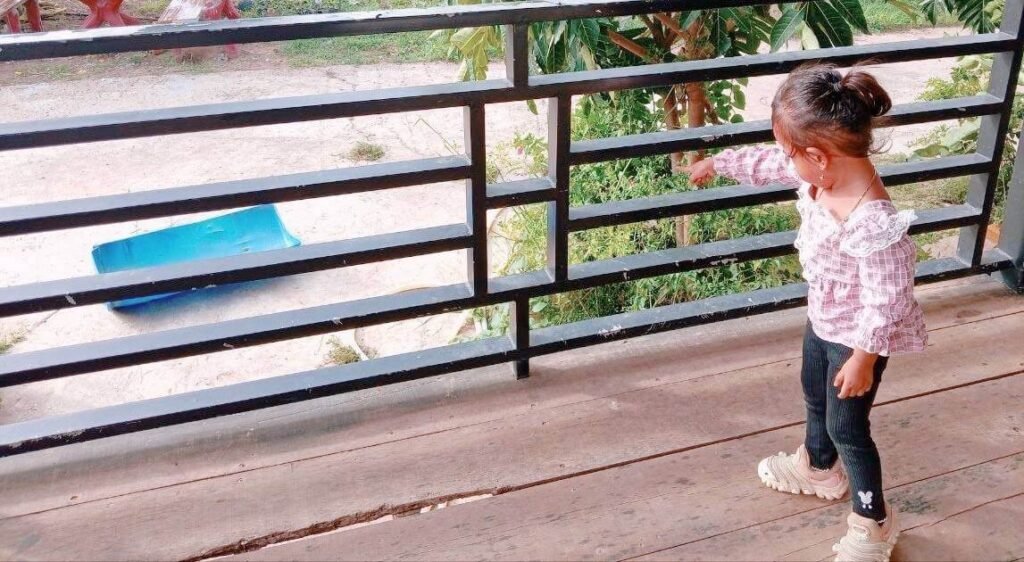
It had been sitting out front for a bit, mostly ignored. But the moment my daughter stepped onto the patio that afternoon, she spotted it and pointed straight at it, standing right where we usually sit to relax in the evenings.
Figuring Out What She Wanted
At first, I thought she wanted something else entirely, maybe a snack or one of her toys inside. I took her hand, walked her closer, and asked, “What do you want, sweetheart?” She just kept repeating, “There, there…” and pointing at the half-cut barrel.
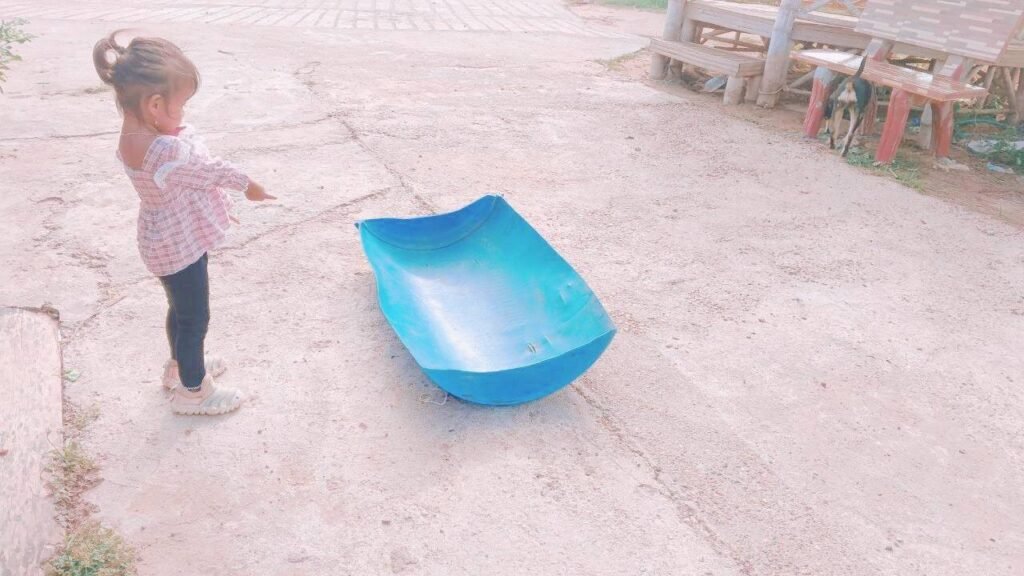
It took a moment, but it was clear: she wasn’t asking for anything complicated. She wanted to ride.
Vroom, Vroom: The Play Begins
My son laughed and said, “Well, there goes my plan to buy school supplies.” Honestly, I couldn’t help but laugh with him. My daughter waved him over with a cheerful “Come, come!” and, knowing his little sister well, he didn’t argue at all.
He climbed behind the barrel and started pushing her across the yard while she sat inside, giggling with every “vroom, vroom.” The shopping trip was completely forgotten.
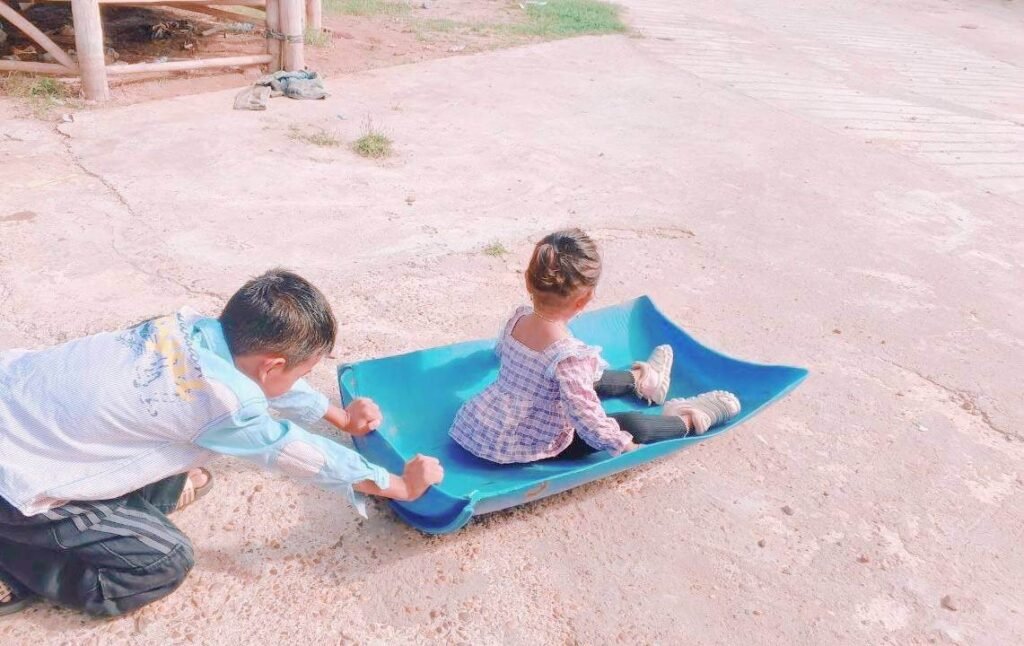
This is one of those sibling play ideas for a toddler and an 8-year-old that don’t require any advance planning. It just happens.
Taking Turns (Sort Of)
A little while later, I heard my daughter protest, “No, no…” I was sitting nearby and asked what was wrong. She was pointing at her brother, who had climbed into the barrel to take his own turn.
Turns out, she wasn’t ready to give up her ride yet. Her brother, sweet as always, climbed right back out so she could keep going, and the “vroom, vroom” and laughter started right back up.
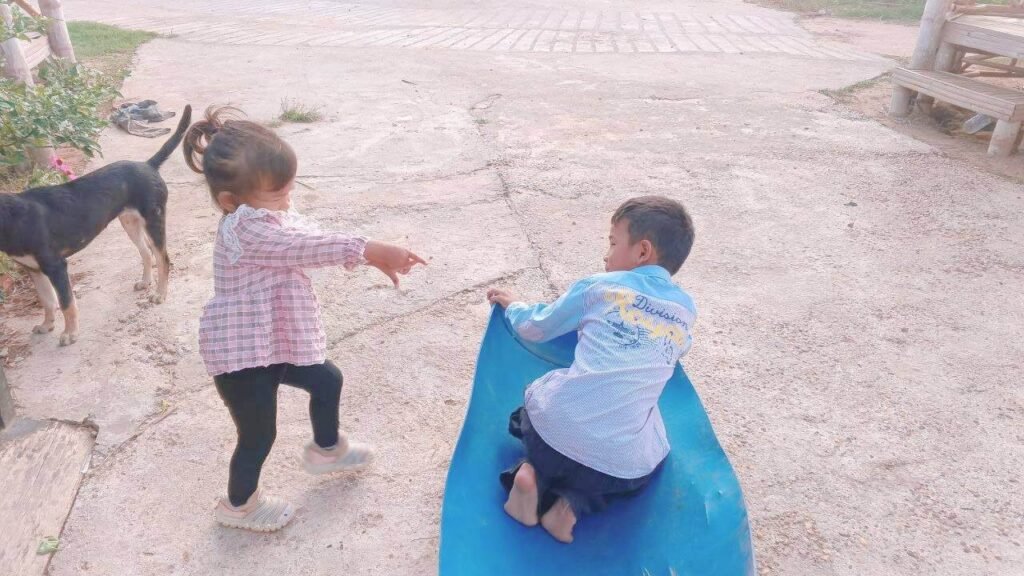
It’s a small moment, but it says a lot about how well these two play together when they’re given the room to do it.
From Barrel Rides to Puppy Cuddles
Eventually, the two of them took a break from the barrel and wandered over to sit in the shade of a nearby tree, where our two dogs joined them.
My daughter called her favorite brown dog over, gently petted its head, and started chatting away in her own toddler babble.
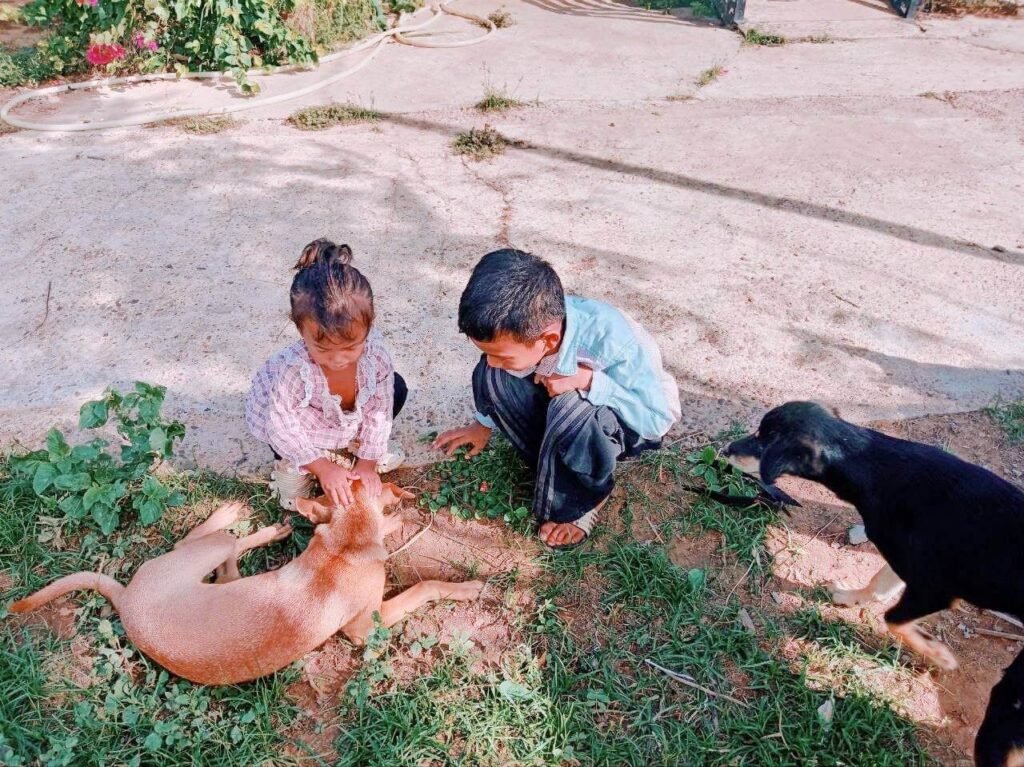
Not long after, my son’s black dog wandered over too. Watching all four of them huddled together like that, it honestly looked like they were holding a very serious little meeting.
How to Make Your Own DIY Ride-On Toy From a Plastic Barrel
If you want to try this at home, it’s a genuinely simple project, and it costs close to nothing if you already have a barrel sitting around.
Note: This is a DIY project that requires adult construction and constant adult supervision during play. Always ensure edges are fully sanded and the barrel is clean before letting children use it.
What we used:
- An empty plastic barrel (food-grade is best, so you know nothing harmful was stored inside)
- A hand saw suitable for cutting plastic.
- Sandpaper or a metal file
- Outdoor-safe paint (optional)
How my husband made it:
- First, he rinsed the barrel out thoroughly and let it dry completely in the sun.
- Using his saw, he carefully cut the barrel in half lengthwise, leaving a curved, boat-like shape.
- He then took sandpaper and sanded down every single cut edge until it was completely smooth. This step matters, since rough plastic edges can scrape little hands and legs.
- We left ours plain blue, but you could add a coat of outdoor paint if you want to brighten it up, letting it dry fully before letting the kids near it.
- Finally, we set it on flat, open ground in the yard, and let the kids take it from there!
Always keep an eye on playtime with a homemade toy like this one, the same way you would with any backyard equipment, and check it now and then for cracks or rough spots as it ages.
More Free Backyard Toys From Things You Already Own
The barrel isn’t the only thing around the house that can turn into a toy. A few other ideas that have worked for us:
- An old sturdy bucket flipped upside down becomes a drum or a stepping stool for pretend games.
- A flattened cardboard box turns into a sled for grassy slopes or a race car with a marker and some imagination.
- Empty plastic bottles filled with rice or beans make simple shakers for younger kids.
None of these needs a trip to the store. Half the fun, for us at least, has been watching the kids find new uses for things we were about to throw away.
Why We Let the Shopping Trip Wait
We could have stuck to the plan and dragged both kids to the market. Instead, we got an afternoon of genuine, screen-free sibling play that neither of them will remember as “that one errand day.”
There’s something worth protecting in those unplanned moments, the ones where a leftover barrel and a pointing toddler rearrange your whole afternoon for the better.
The school supplies were bought two days later. The memory of that barrel ride is still coming up at dinner.
Final Thoughts
What started as a Sunday shopping trip turned into one of our favorite backyard afternoons, all because of a DIY ride-on toy from a plastic barrel that had been sitting there the whole time.
If you’ve got something similar gathering dust in your yard, it might be worth handing it over to the kids before you toss it out. You never know what “there, there, go, go” is about to turn into.
Disclaimer: The ideas and routines shared on TheParentings reflect my personal experiences as a mother and primary school teacher. This content is for informational purposes only and is not a substitute for professional medical, developmental, or psychological advice. Always consult your pediatrician with specific concerns regarding your child’s health or safety.
