

Last Sunday afternoon, my 3-year-old daughter found an empty cardboard box and started dragging it around the house, scattering everything in her path.
We had been stuck inside all morning, and cabin fever was starting to set in. Watching her pull that box across the living room, knocking over toys and threatening to make a bigger mess, an idea hit me around 3 PM: why not turn all that pent-up energy into a DIY cardboard boat with oars instead?
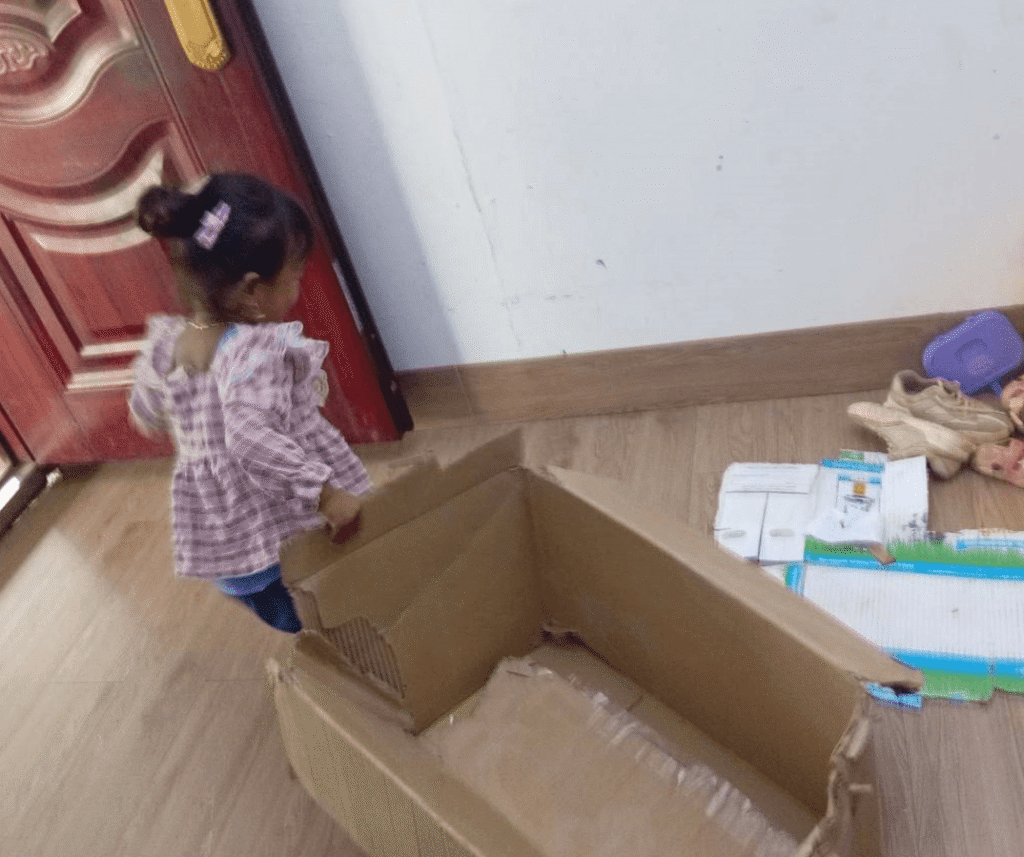
If there’s one thing I’ve learned about kids, it’s that the packaging usually excites them more than the toy inside.
We’d already had a lot of fun with our cardboard box car a few weeks back, so I had a couple of empty shipping boxes sitting around waiting for the recycling bin.
With a free afternoon ahead of us and two bored kids looking for something to do outside in the fresh air, I figured it was time to put those boxes to better use.
This time, instead of wheels, we decided to set sail across the “sea of grass” in our own backyard.
Using two large empty boxes (one works perfectly fine too), a roll of clear tape, and a pair of scissors, we built a cardboard box boat complete with homemade cardboard oars.
It cost nothing, kept the kids away from their screens for the whole afternoon, and turned our lawn into a full-blown river adventure.
Here’s exactly how we put it together, step by step.
What You Need to Make a Cardboard Box Boat
You don’t need a trip to the craft store for this one. If you’ve had any deliveries lately, you probably already have everything sitting in your recycling pile.
- 1 large cardboard box: The thicker the better (having two boxes on hand is even better in case you need extra panels).
- Leftover cardboard scraps: Save whatever you cut off the main box to use for the oars.
- Strong packing tape: Heavy-duty clear tape holds the shape best and withstands being dragged across the lawn.
- Scissors or a box cutter: Essential for shaping the bow and cutting out the oars.
This is a cardboard boat with no glue involved. Tape does all the work, which makes it a lot less messy and a lot faster to finish.
How to Make a Cardboard Boat with Oars, Step by Step
Step 1: Prep the Base Box
Open the top flaps of your box and peel off any shipping labels. Tape the bottom flaps down flat and secure so the boat doesn’t collapse once the kids climb in. You want a solid, flat surface for them to sit on.
Step 2: Cut and Shape the Bow
To make it look like an actual boat instead of a plain box, you need a pointed front, or bow. Cut down the two front corners with scissors, then fold the two front flaps inward until they meet in the middle to form a triangle shape.
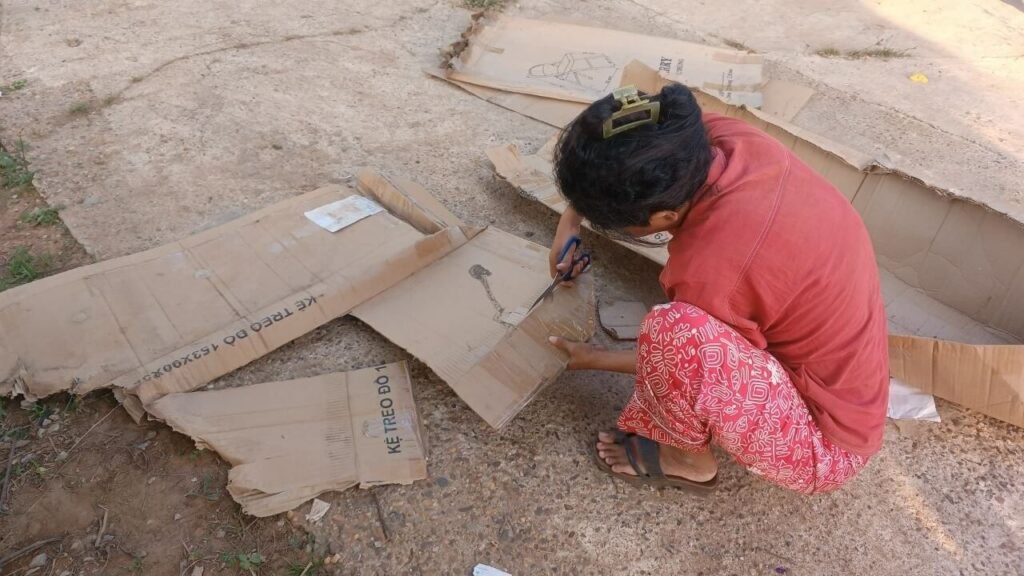
Step 3: Tape It Securely
Once the bow is folded into shape, run several long strips of tape along the front seam where the two flaps meet, then wrap a few extra layers around the bottom edge for reinforcement. Press the tape down firmly so it can handle the kids dragging it across the yard.
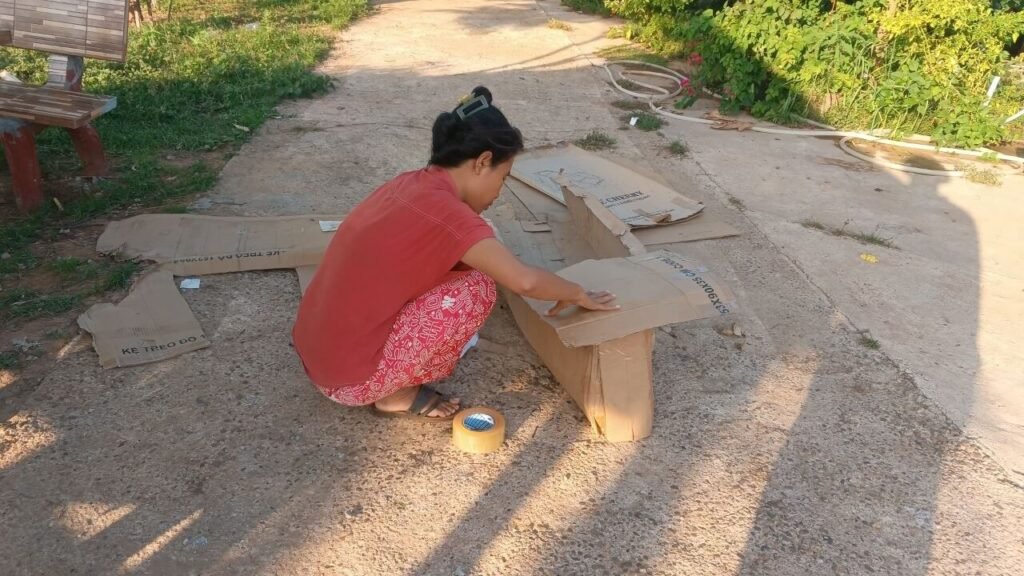
Step 4: Craft the DIY Cardboard Oars
A boat needs oars. Instead of tossing the cardboard scraps left over from cutting the bow, use them to cut out two oar shapes—a long handle with a wider, rounded paddle at one end. Wrap a bit of tape around each handle, so they’re sturdier and easier for small hands to grip.
Step 5: Decorate the Boat (Optional but Fun!)
Before we took it out to the grass, we spent a few minutes customizing our new vessel. If your kids love art, hand them some washable markers, crayons, or even stickers to decorate the sides of the box.
You can draw a ship’s wheel on the inside or write a funny name on the side of the hull. We kept ours fairly simple this time, but decorating is a great way to squeeze another twenty minutes of focused, creative playtime out of this craft.
How I Kept It Safe
I did all the cutting and assembling while the kids were out of the play area and brought the finished boat out only once everything was built.
It’s an easy habit to keep with any craft that involves scissors or a box cutter, and it means the kids only see the finished, ready-to-play part.
I also made sure we played on the soft grass to avoid any scraped knees when they inevitably climbed in and out.
Setting Sail: A Backyard Boat Adventure
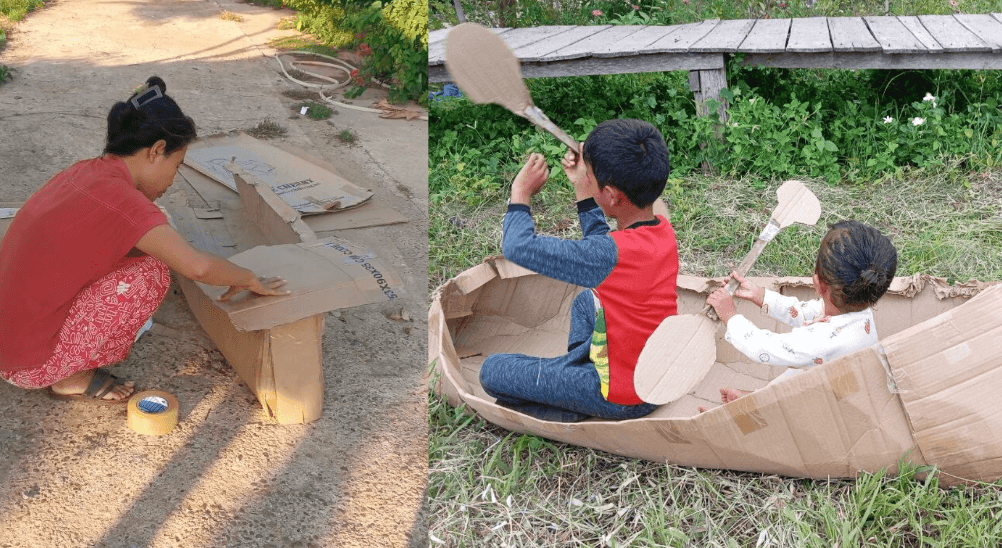
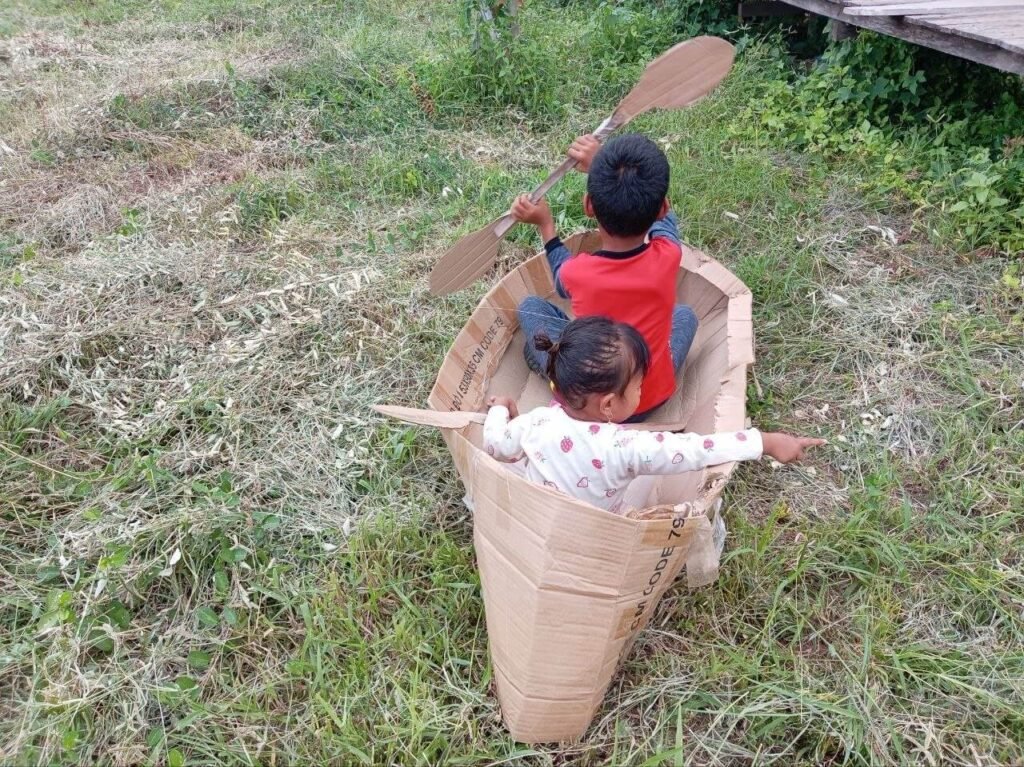
Once the boat and oars were ready, we dragged the whole thing out into the yard. My 8-year-old son and 3-year-old daughter hopped in right away. Because we’d shaped the front into a point, it actually looked like a little canoe floating on the grass.
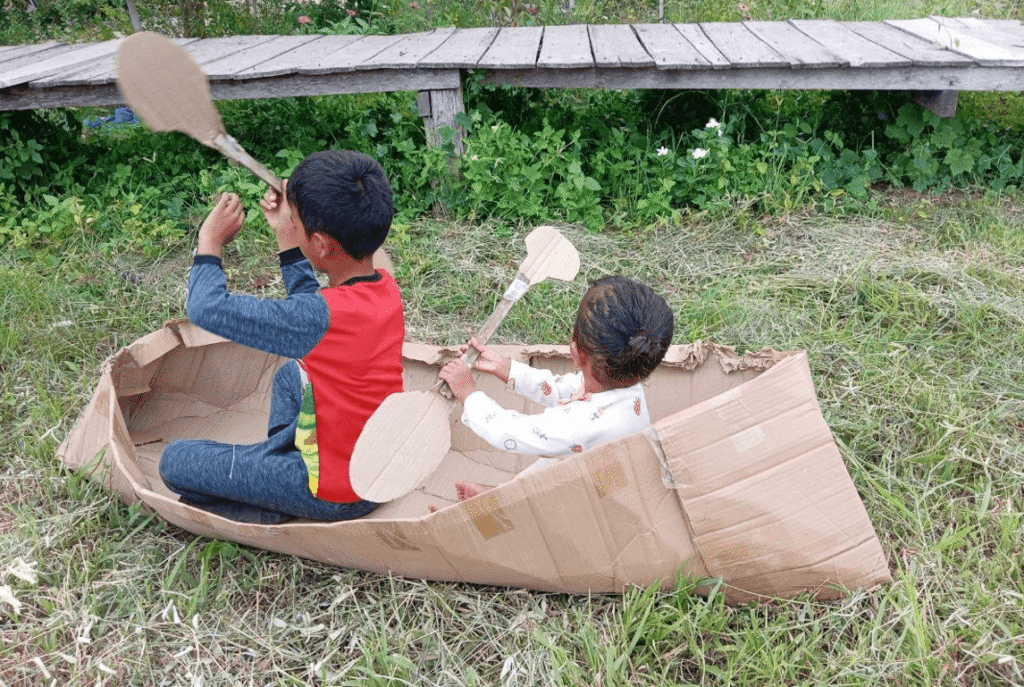
I handed them their cardboard oars, and they started rowing immediately.
My son sat in the back to steer while my daughter sat up front, and it was such a nice moment watching them work together, lifting their oars and paddling through their imaginary waters.
This kind of easy cardboard boat works well even for a 3-year-old, since there’s nothing for them to assemble—they just climb in and start playing.
Final Thoughts
You don’t need expensive, battery-powered toys to fill an afternoon with laughter. Sometimes a cardboard box, a roll of tape, and a little imagination are all it takes.
When the kids are done playing, or once the weather takes its toll on the cardboard, cleanup takes minutes.
Peel off the tape, flatten the boxes, and toss them in the recycling bin. It’s one of the simplest recycled cardboard box crafts we’ve tried, and this DIY cardboard boat with oars is one the kids keep asking to bring back out.
If you’ve got a delivery box sitting on your porch right now, it only takes about ten minutes to turn it into a boat. Hand the kids some homemade oars, point them toward the yard, and see where their imagination takes them.
Disclaimer: The ideas and routines shared on TheParentings reflect my personal experiences as a mother and primary school teacher. This content is for informational purposes only and is not a substitute for professional medical, developmental, or psychological advice. Always consult your pediatrician with specific concerns regarding your child’s health or safety.
