

Yesterday, after my 8-year-old son came home from school, he ate and rested for a while like he always does.
Around 4:00 in the afternoon, he wandered out to the backyard to water the vegetables and check on the crops, something he does almost every day. But this time, when he came back inside, he wasn’t empty-handed.
He was holding one single leaf, and instead of heading to the kitchen for a snack like usual, he walked straight into his room.
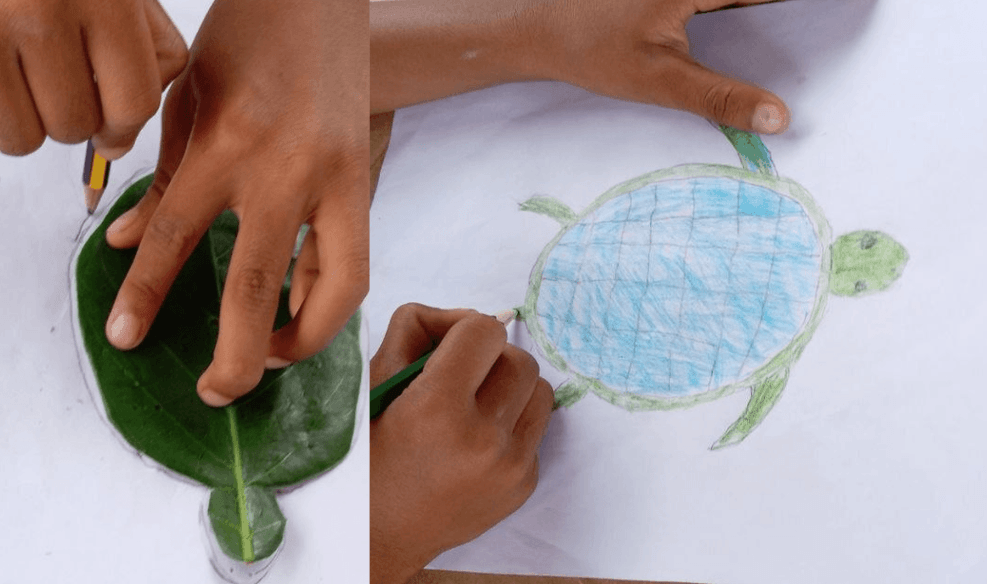
Five minutes later, he walked back out holding a drawing. A turtle. A really good one.
That little moment turned into the leaf tracing turtle craft you see here, and honestly, it might be one of the easiest and most rewarding crafts we have ever tried.
If you are looking for an easy, no-cost leaf craft for kids that uses items you already have at home and keeps your child busy and proud of what they made, this one is worth trying today.
Why This Leaf Turtle Craft for Kids Is Worth Trying
As a parent, finding an activity that is actually fun, not just something to fill fifteen minutes, can feel harder than it should be. Most craft ideas online ask for supplies you have to buy: glue guns, paint sets, or kits that end up sitting in a drawer after one use.
This one does not. It is a simple nature craft with no supplies needed beyond what is already sitting in your backyard and your kid’s pencil case. All it takes is one leaf, a piece of paper, a pencil, and something to color with. That’s the whole list.
This turtle craft using a real leaf is also a nice backyard nature craft for kids from start to finish. Your child steps outside for a few minutes to pick a leaf, then comes back in to turn it into something they made with their own hands. No screens, no mess, and nothing to throw away when you’re done.
What You Will Need
You only need four things for this craft, and there is a good chance all of them are already around your house.
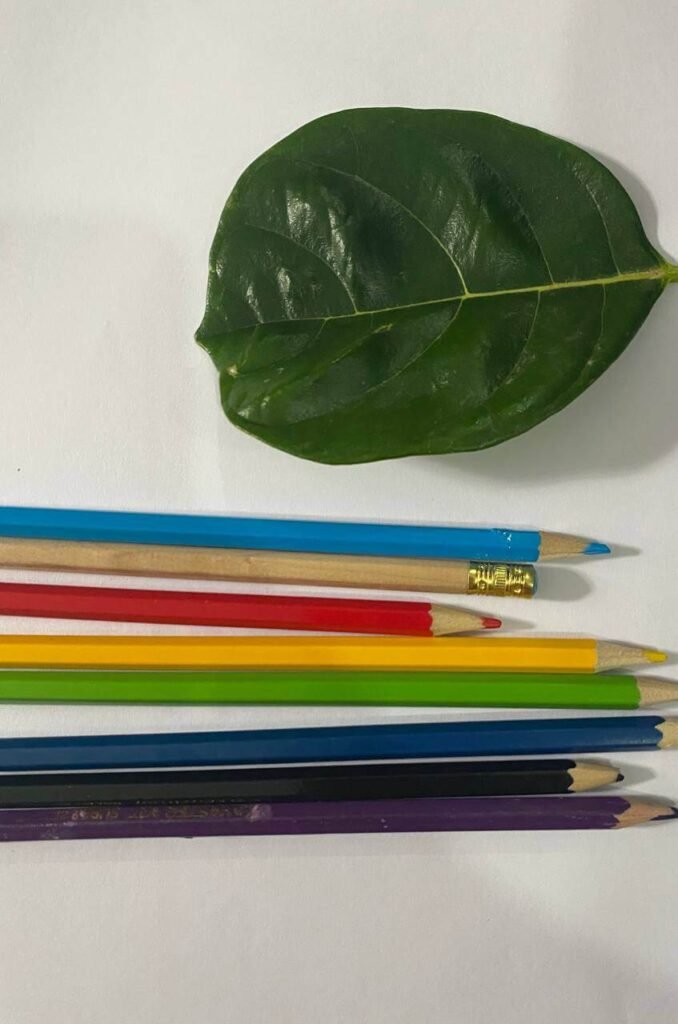
A fresh, sturdy leaf. Pick one straight from the garden or a nearby plant. Try to avoid dry or brittle leaves since they tend to break apart while tracing.
- A piece of white paper. Regular printer paper works fine.
- A pencil. Sharpen it well so tracing the edges is easier.
- Colored pencils, crayons, or markers. Whatever your child likes using most.
Step by Step: How We Made Our Leaf Tracing Turtle Craft
Step 1: Go on a Quick Leaf Hunt
The best part of this whole activity is getting outside for a few minutes. Take your child into the backyard or a nearby park and let them search for a leaf they like.
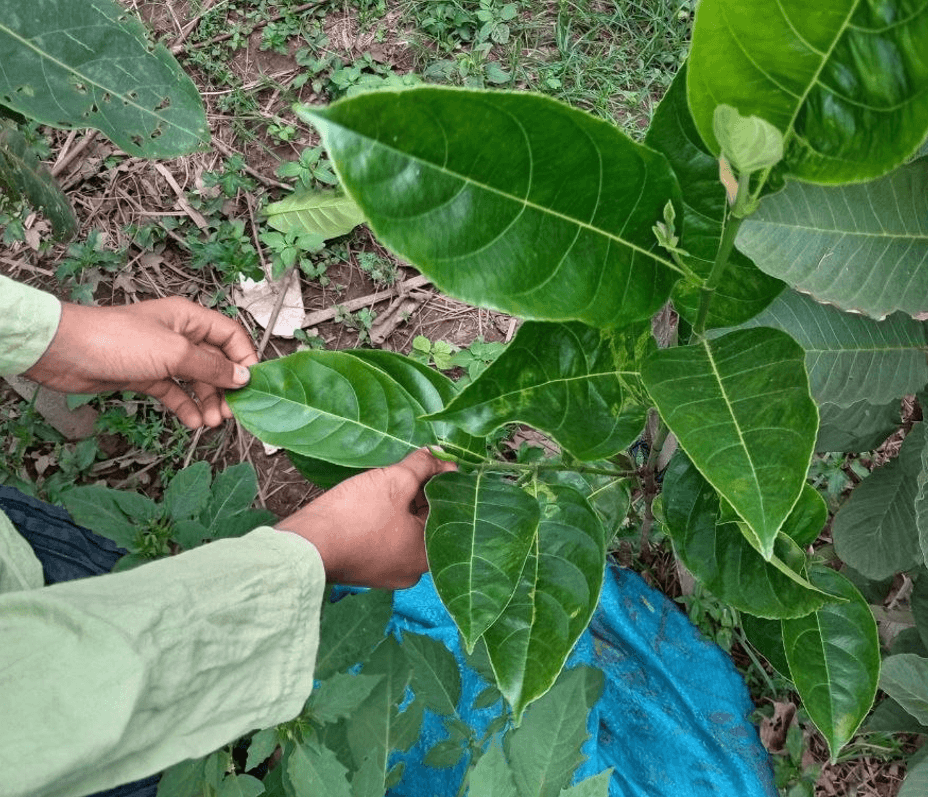
This part alone makes it one of the more fun outdoor craft activities for 8-year-olds and younger kids too, since they get to explore a little before the drawing even starts.
My son picked a leaf that was just the right size, with a nice round shape and clear veins running through it. A wider, flatter leaf tends to work best because it gives you a plump, rounded turtle shell once it is traced.
Step 2: Trace the Shell
Once you are back inside with your paper and pencil ready, place the leaf flat in the middle of the page.
Here is a small tip that made a difference for us. Have your child hold the leaf down with their other hand while they trace around the edges with the pencil in their main hand.
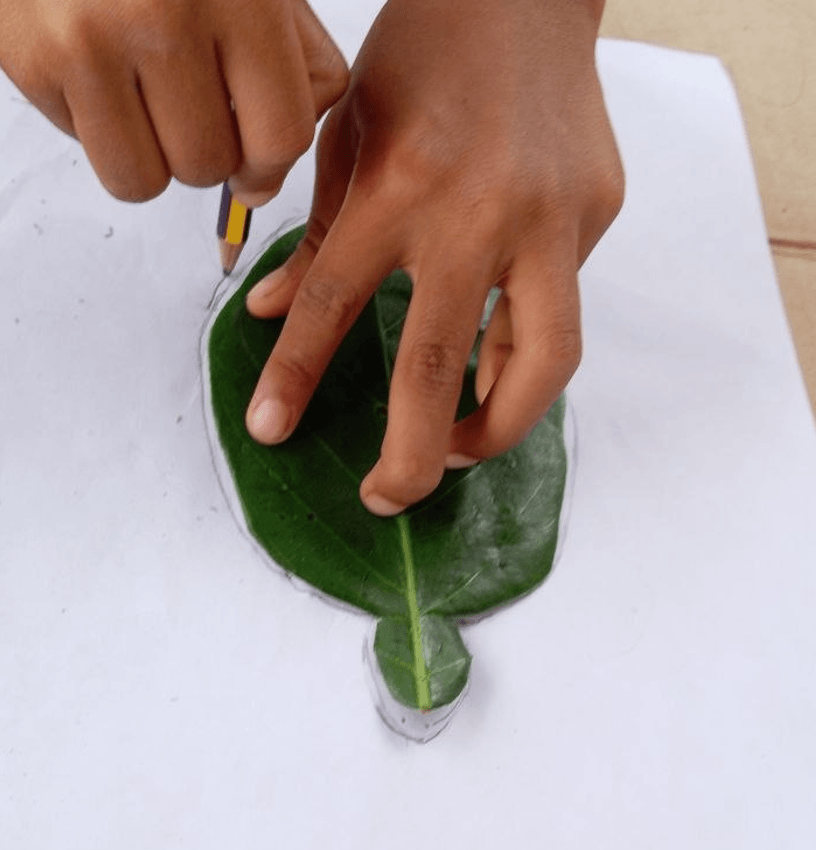
My son pressed the leaf flat with one hand and carefully traced the outline with the other. It takes a bit of patience, and kids usually slow down and concentrate hard during this part, which is exactly what makes this leaf tracing activity for kids so satisfying once it is done.
Step 3: Add the Turtle’s Details
Once the leaf shape is traced onto the paper, it is time to turn it into a turtle.
Starting from the pencil outline, draw a small round head at the top, two longer front flippers, two shorter back legs, and a small pointed tail at the bottom. To finish it off, add a few simple grid lines inside the shell shape to look like a turtle’s scales.
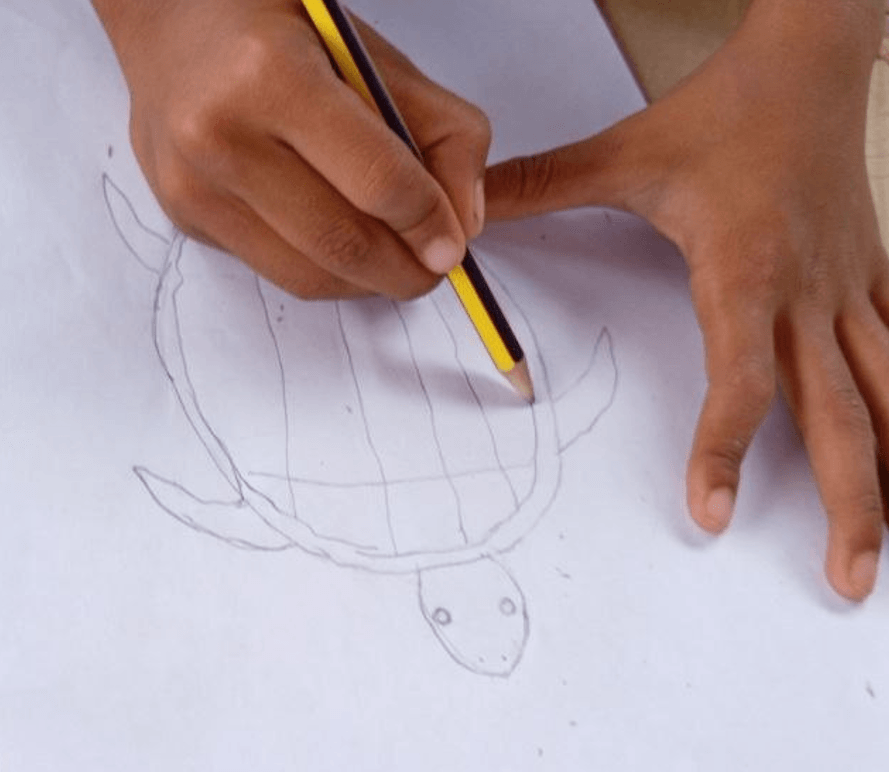
This is the step that really shows kids how to trace a leaf into a turtle instead of just tracing a random shape.
Step 4: Bring It to Life With Color
This is usually every kid’s favorite part. Let them pick whatever colors feel right to them, even if it isn’t exactly how a turtle looks in real life.
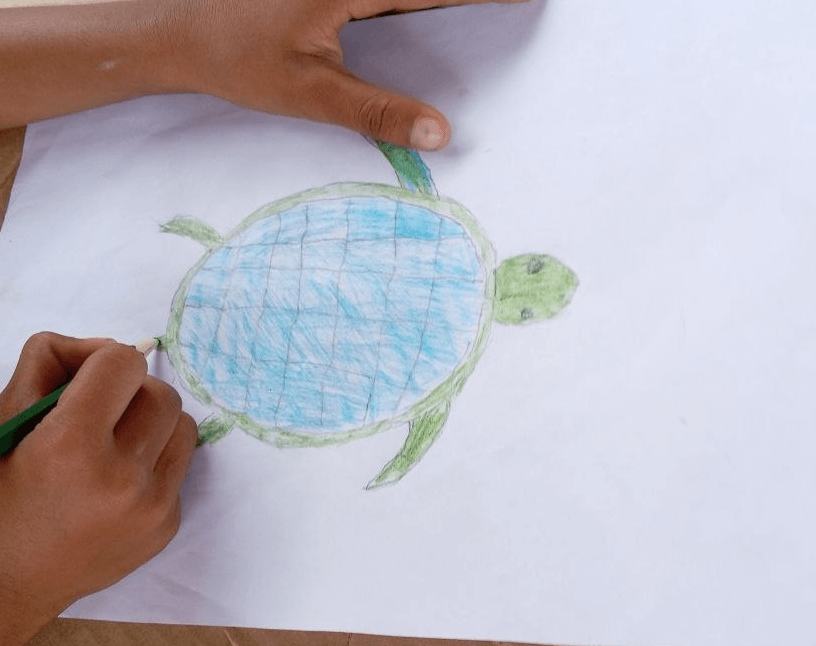
When my son finished his drawing, I mentioned that turtle shells are usually darker in color. He looked at me and said, “No, this is my turtle, and I want it to be bright and colorful.”
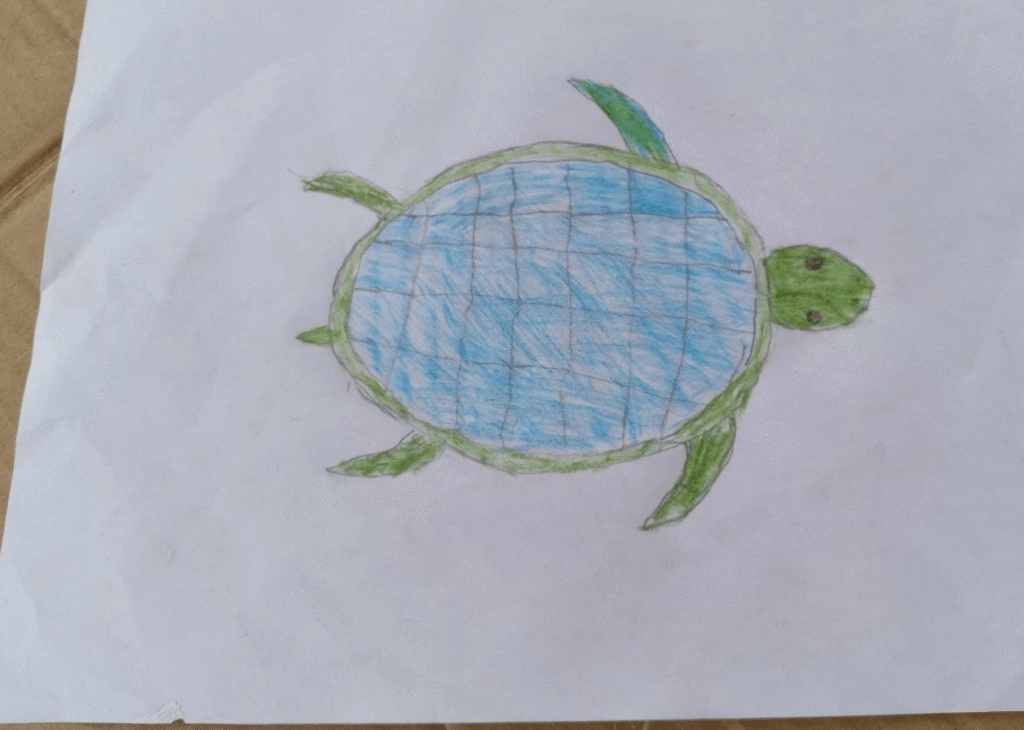
He picked a bright ocean blue for the center of the shell, then filled in the outer edges, the head, and all four legs with a vibrant green.
The Finished Turtle
And there it was, a plain leaf from our backyard turned into a colorful little sea turtle swimming across the page. It took less than twenty minutes from start to finish, and my son was clearly proud of what he made.
If you try this leaf turtle craft for kids at home, don’t be surprised if your child wants to make an entire turtle family afterward. Ours certainly did.
More Ideas for This Nature Craft With Leaves
Once your child gets the hang of tracing one leaf into a turtle, there’s a lot of room to keep going. Try different leaf shapes for different animals; a long leaf can become a fish, and a smaller round one might turn into an owl or a snail.
You could also collect a few leaves in one trip and let your child trace and color a handful of shapes to make a little leaf zoo on one page. If you’re looking for more leaf craft ideas using pencil tracing, this same method works for almost any nature shape you can find outside.
Final Thoughts
This leaf tracing turtle craft turned out to be one of those simple ideas that ended up being more fun than expected. No shopping trip, no mess to clean up, and no cost at all- just a leaf, some paper, and a few pencils.
Next time your child comes inside from playing outside, hand them a leaf and see what they come up with. You might end up with a turtle family of your own.
