

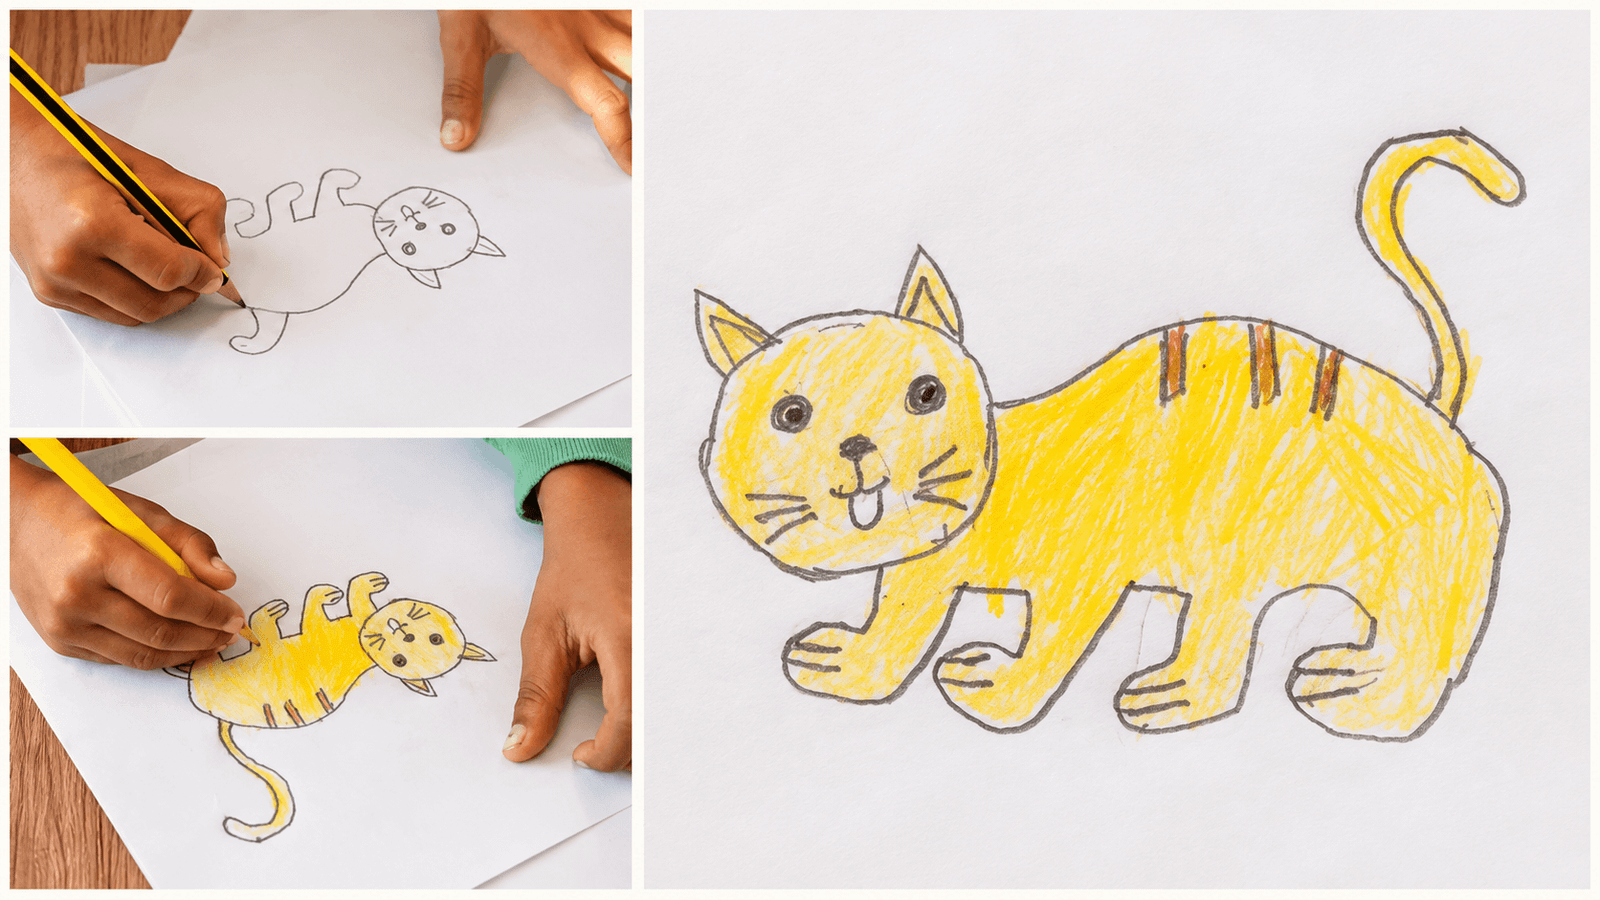
Finding screen-free activities for 8-year-olds can be tricky, especially on a quiet afternoon at home. Recently, we tried drawing a cat step-by-step, and all we needed was a sheet of paper and a pencil.
It turned out to be a really simple activity, and it came with a story I still laugh about.
If you want an easy indoor activity, grab some paper and follow along.
Quick summary
- Age: About 6 to 10 (we did it with an 8-year-old)
- Time: About 20 minutes
- Supplies: Printer paper, an HB pencil, an eraser, yellow and brown colored pencils
- Skill level: Beginner
What You Need for This Easy Cat Drawing
You don’t need fancy art supplies. We used things already sitting in our school supply box:
- Blank white printer paper
- A standard HB pencil
- A good quality eraser
- Colored pencils or crayons (we used yellow and brown for a tabby look)
Why We Drew a Cat Today
Every day when my son comes home from school, he calls out for his cat so he can feed him. It’s his daily chore. The problem is that his male cat is rarely home.
Today was no different. My son went to feed the cat and realized the grey cat wasn’t around, so he grabbed some plain white paper, an eraser, and colored pencils, and sat down nearby.
I asked, “What are you doing, son?”
He said, “I’m drawing Mr. Didto. He is never home.”
I said, “If the cat is missing, why not go look for him? Maybe he went out to the backyard?”
He answered, “It’s easier to just draw a picture and put up lost posters for him.”
I burst out laughing without even realizing it, and he just kept drawing. About 20 minutes later, a picture of a yellow male cat appeared on the table.
Step-by-Step Instructions
Here is how to draw a cat for kids, exactly the way my son did it. Press lightly with the pencil in the first few steps so mistakes are easy to erase.
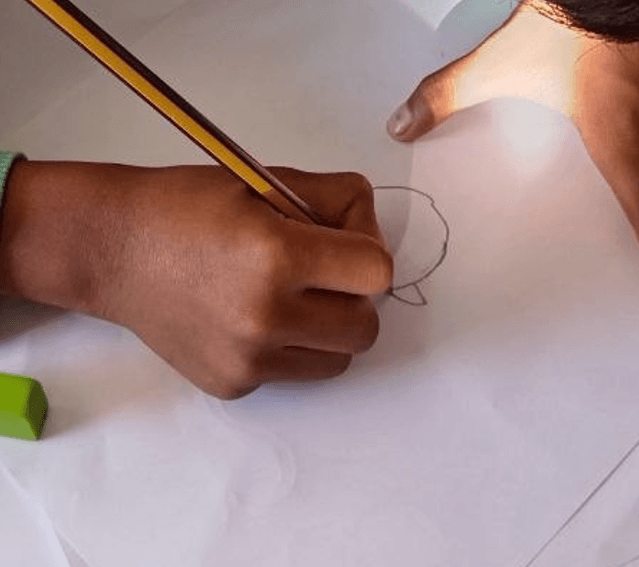
Step 1: Start with the Head
Begin with the face, because it’s the easiest part. Draw a simple circle or a slightly flattened oval for the head. If your circle comes out a little wobbly, that’s fine. It gives your cat some personality.
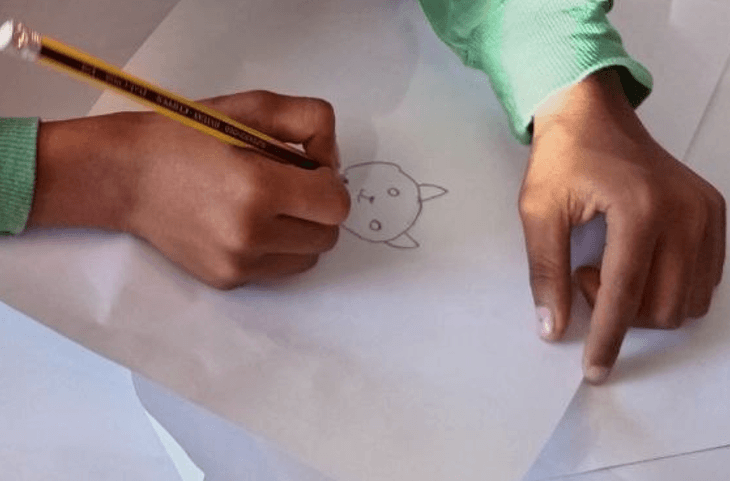
Step 2: Add the Ears and Face
Draw two pointy triangles on top of the head for the ears. Then add the face: two small dots for the eyes, a tiny oval for the nose, and a small curved line for the mouth.
My son also added a few whiskers on each cheek, which made the cat look much friendlier.
Step 3: Draw the Body and Legs
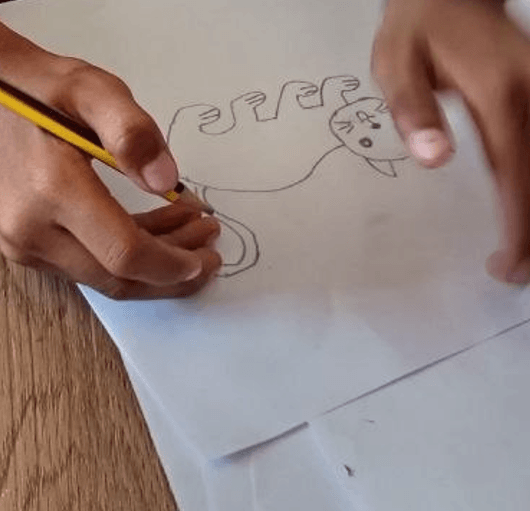
Once the head is done, draw a long curved line starting from the back of the head to make the cat’s back. Then add four simple legs with rounded paws at the bottom.
The legs were the tricky part for us. I wanted them to look nice and realistic, but my son couldn’t get them right. The first three tries went wrong.
On the fourth try, he drew them exactly how he wanted: four legs lined up evenly, simply because that was easier for him. In the end, I agreed.
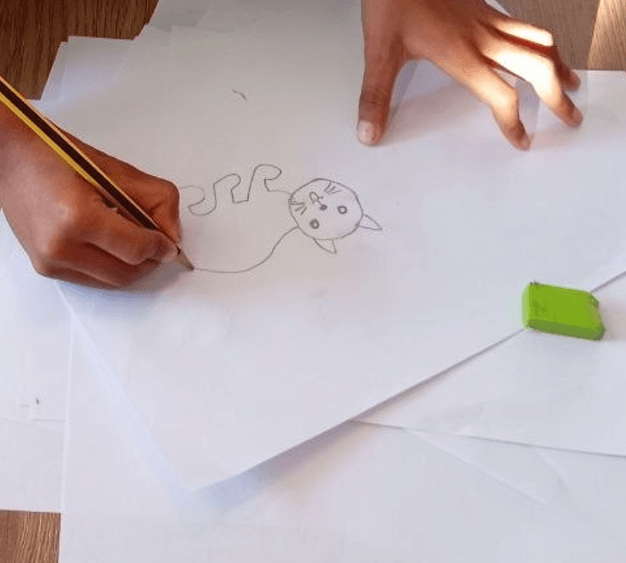
Tip: Keep your eraser close by. We used ours several times to adjust the leg lengths.
Step 4: Don’t Forget the Tail
Every cat needs a swooping tail. Starting from the back of the body, sketch a long curved line that curls upward. You can make it fluffy and thick, or thin and sleek. It’s your cat, so draw it however you like.
Step 5: Color Your Cat
Now for the best part. You can color your cat any shade you want, which makes this a fun way to practice drawing with colored pencils.
I asked my son, “What color should we use? Should we color it grey to look like Mr. Didto?”
He refused right away and said he wanted bright yellow.
“Oh! Why?” I asked.
He said, “This color is easier to spot when he wanders away from home. You can see it from a distance.”
I just nodded in agreement.
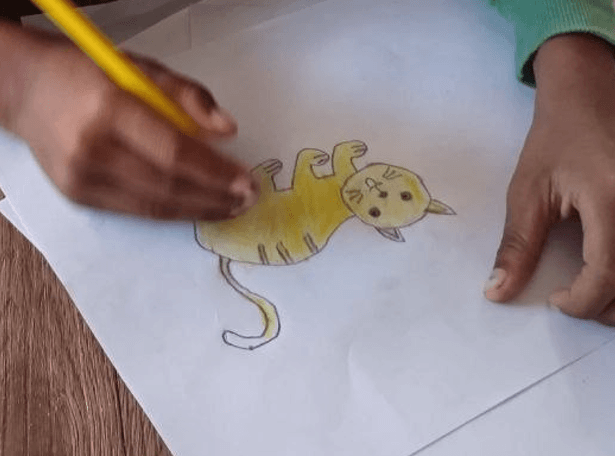
Make it a Tabby: After coloring the body, use a darker pencil (brown works well) to add short lines along the back and head. Those little stripes are all it takes to turn a plain cat into a tabby.
Step 6: The Final Masterpiece
There you have it, an adorable hand-drawn cat. The whole thing took us about 20 minutes, and most of that time went to redoing those legs three times.

More Easy Drawing Ideas for 8-Year-Olds
Once your child has finished this cat, the same steps work for other animals. Start with a circle for the head, add ears or a beak, then build the body with simple curved lines. A dog, a fish, and a bird are all good next tries if you want to draw other simple animals.
If you’re collecting easy indoor drawing activities, this is a good one to keep on the list. It uses supplies you already own and needs no setup.
Disclaimer: The ideas and routines shared on TheParentings reflect my personal experiences as a mother and primary school teacher. This content is for informational purposes only and is not a substitute for professional medical, developmental, or psychological advice. Always consult your pediatrician with specific concerns regarding your child’s health or safety.
