

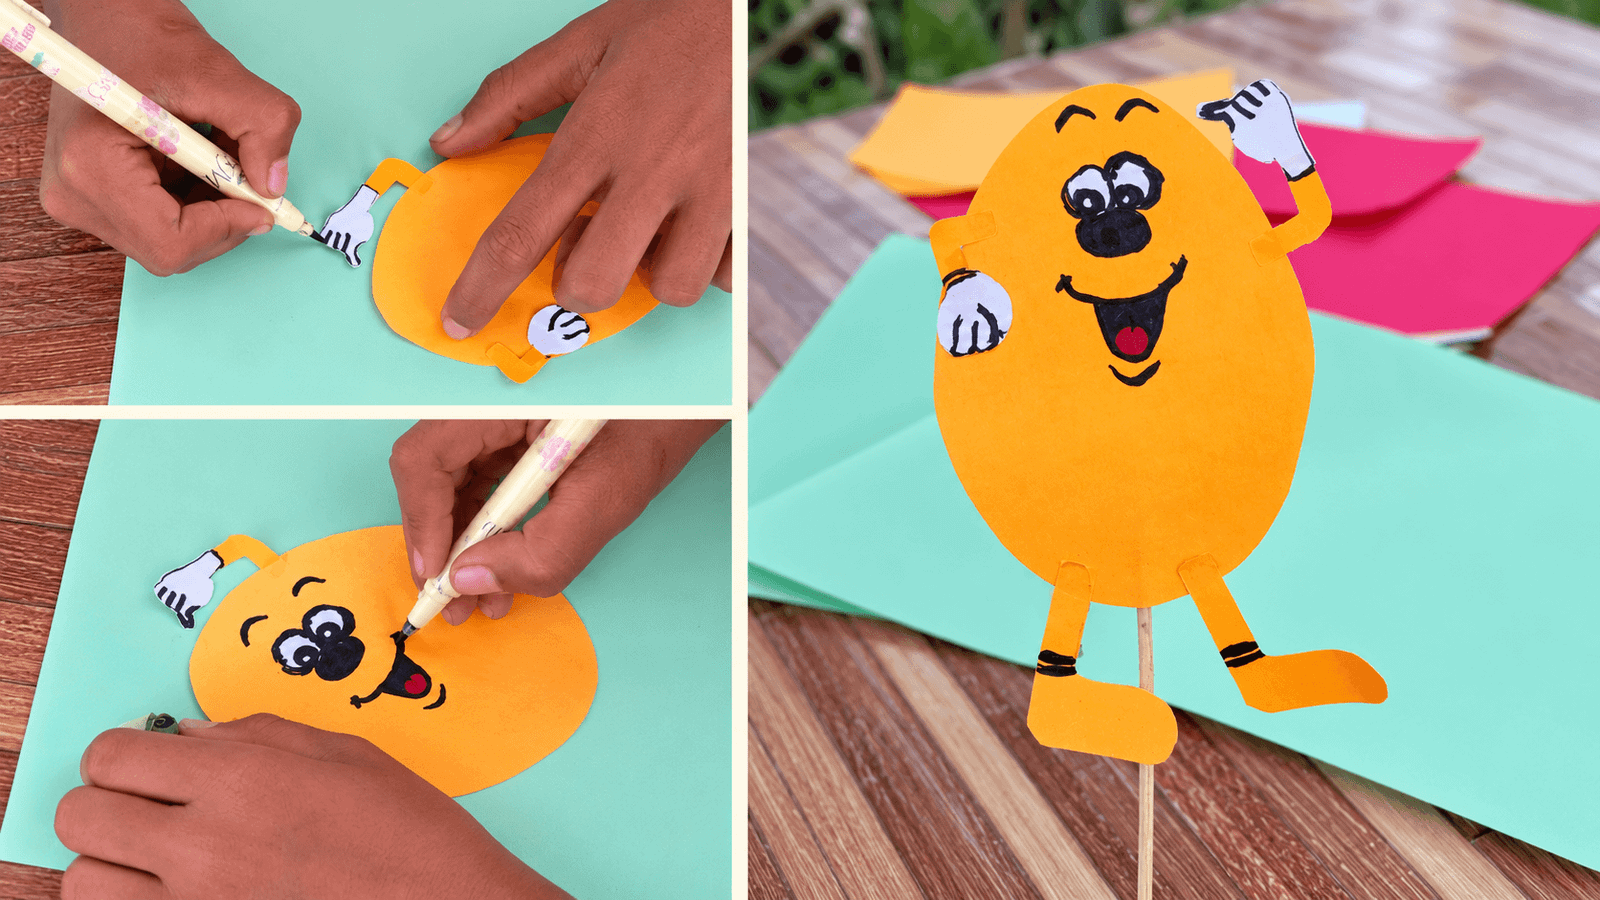
If you have a few leftover scraps of colored paper and a small wooden stick, you already have everything you need to make a paper stick puppet. It is one of those easy 15-minute crafts for kids that looks simple on the table but keeps them busy for an entire afternoon.
At our home, we love upcycling leftover materials instead of buying new plastic toys, especially for projects where my 8-year-old son can design a character from scratch.
I am also a 2nd-grade teacher, and puppet making is one of my favorite classroom activities. The moment a child builds a character, they immediately start inventing funny voices, personalities, and storylines.
They think they are just playing, but they are practicing dialogue, sequencing, and expressive storytelling the whole time.
This past holiday weekend was the 3-day Pchum Ben national festival from Saturday to Monday, and most of the local markets around us were closed.
We wanted to turn our quiet downtime at home into something creative, so my son and I made a bright yellow stick puppet he named “Happy Potato”. It took under 15 minutes using scraps from our craft drawer, and he spent hours putting on shows once the glue dried.
This project hits the sweet spot for 8-year-olds, though younger elementary kids can easily join in if a grown-up helps with the scissors. Here is how we made our puppet step by step, so you can build your own at home.
If you want another calm, 20-minute afternoon activity using just white paper, a regular pencil, and a brown colored pencil, check out my step-by-step guide on How to Draw a Sitting Dog for Kids.
What You Need to Make a Paper Stick Puppet
- Colored cardstock or construction paper: We used bright yellow for the body, white for the hands, a tiny scrap of red for the tongue, and a sheet of light green paper as our work mat.
- A pencil: For sketching the body and limb shapes first.
- Craft scissors: Adult scissors work fine if you handle the cutting for younger kids.
- A glue stick: A solid glue stick dries much faster than liquid glue and keeps the paper from wrinkling.
- A black marker or felt-tip pen: For drawing fingers, facial expressions, and fun details.
- A wooden stick for the handle: We used a smooth bamboo skewer, though a wooden chopstick, craft stick, or straight backyard twig works too.
From start to finish, I sat next to my son at our table and guided him through each stage so he could assemble the character himself.
How to Make a Paper Stick Puppet, Step by Step
Step 1: Draw and Cut Out the Body
Start by choosing a bright, cheerful color for your puppet’s main body. My son picked a sunny yellow sheet from our scrap pile.
He used a pencil to sketch a large oval right on the yellow paper, which became our “potato” shape. Encourage your child to draw the body fairly large—about the size of an adult hand—so there is plenty of room to add a big expressive face, arms, and legs later.
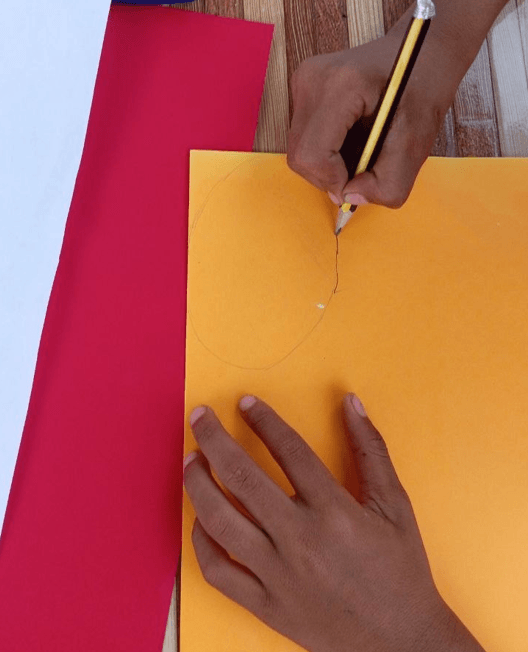
Once he was happy with the pencil outline, I cut out the oval and the smaller limb pieces for him since we were using my sharp blue craft scissors.
Teacher Tip: Heavy construction paper or cardstock holds its shape much better than thin printer paper, which prevents your puppet from drooping once it is attached to the stick.
Step 2: Attach the Arms and Draw the Hands
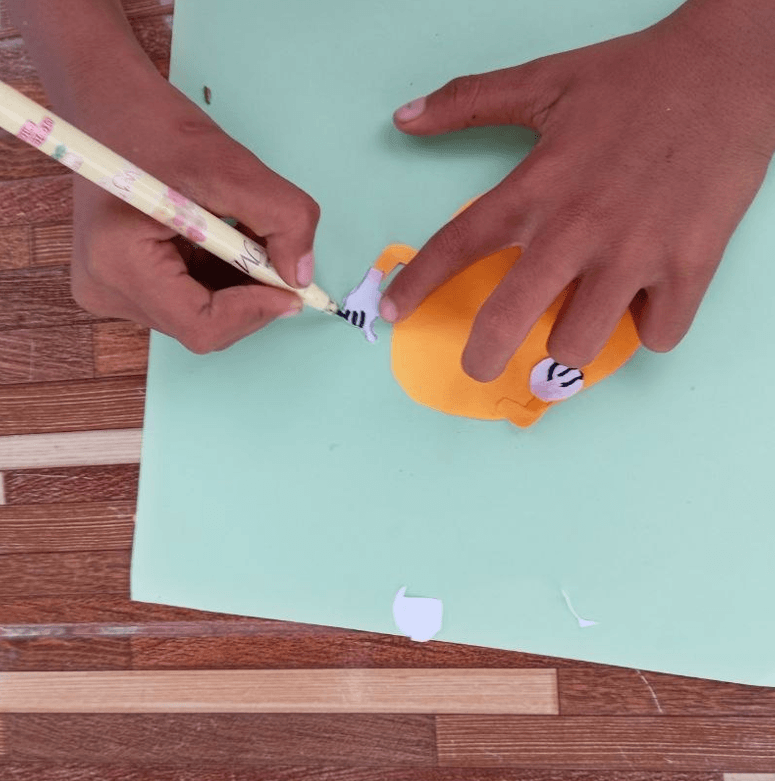
Before drawing the face, we gave our potato some arms so my son could see how much space was left in the center of the body. We cut two thin yellow strips with a bend at the elbow and two tiny white ovals for the hands.
After gluing the yellow arms to the back of the body and pressing the white paper hands onto the ends, my son used a black marker to draw fingers and thumbs on each hand. Giving one arm a raised wave and keeping the other lowered immediately made the puppet look like it was in motion.
Step 3: Bring the Face to Life
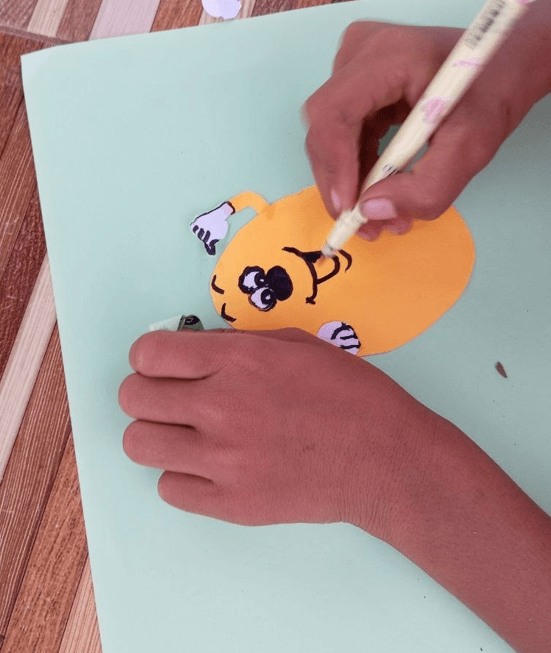
Now comes the part kids love most: giving their character a personality. You can either layer tiny paper cutouts for the eyes or draw the features directly onto the body with a black marker.
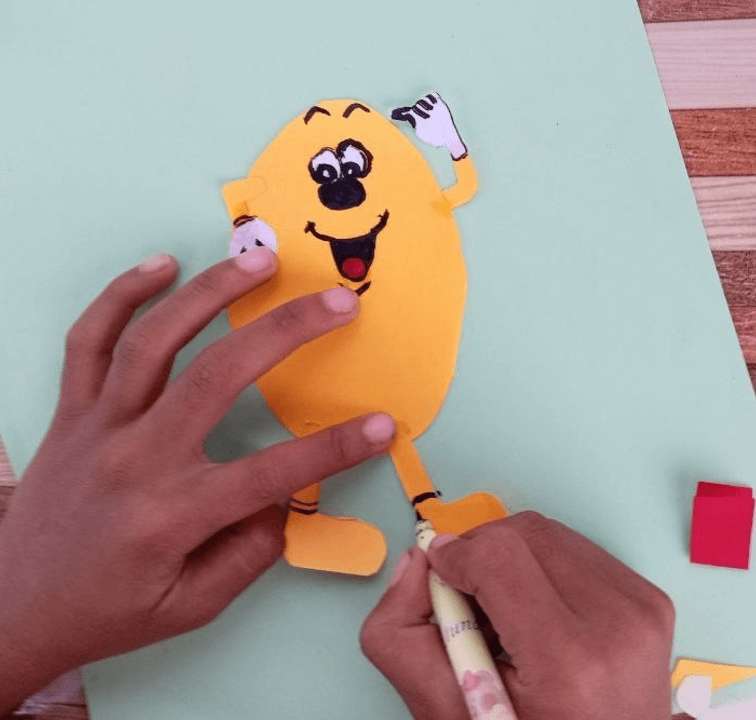
My son drew arched eyebrows, big cartoon eyes, a round black nose, and a wide, laughing mouth. To make the smile pop even more, we snipped a tiny circle from our red paper scrap and glued it inside the open mouth as a little red tongue.
Every face turns out completely different, and those quirky hand-drawn details are what make homemade puppets so charming.
Step 4: Glue the Legs and Add Striped Socks
To make our character look like it was dancing, we cut two L-shaped legs with rounded feet out of matching yellow paper. My son rubbed a dab of glue stick onto the top tip of each leg and pressed them firmly onto the bottom edge of the potato body.
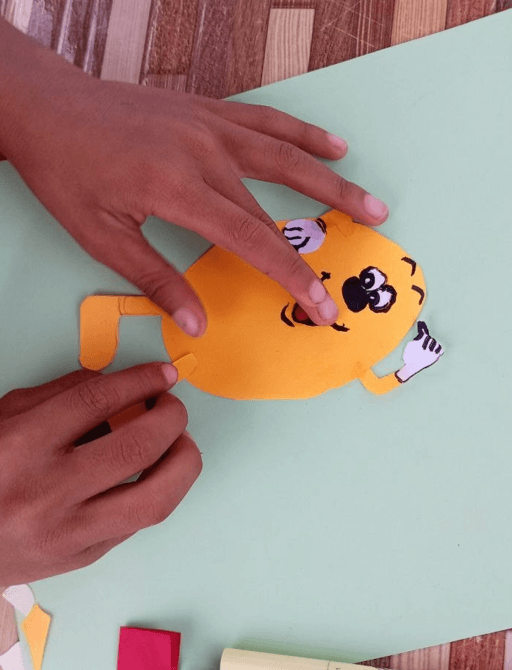
Once both legs were in place, my son had a fun last-minute idea. He grabbed his black marker again and drew two bold black lines across each ankle so it looked like Happy Potato was wearing sporty striped socks!
Step 5: Let the Glue Dry Flat
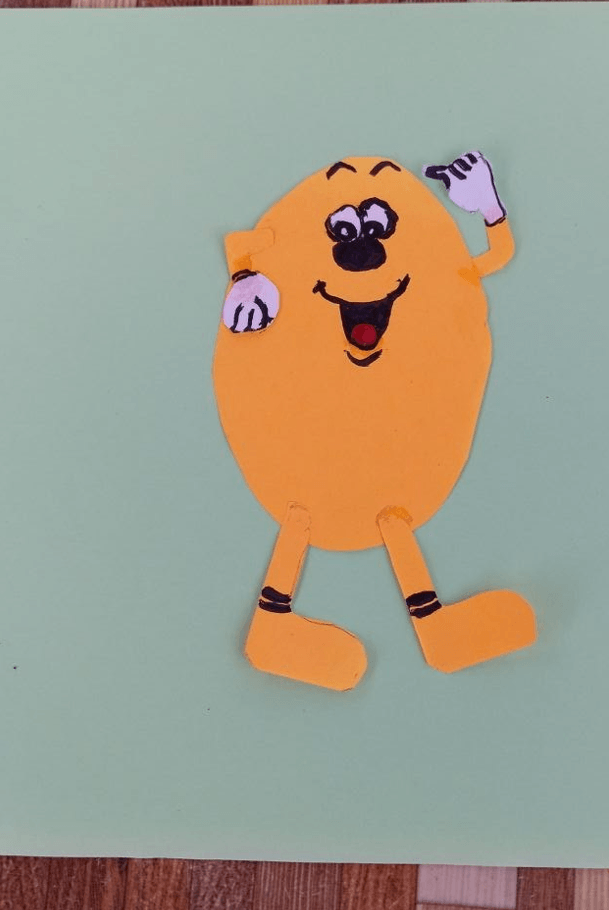
Set your finished character flat on your work mat for about 3 to 5 minutes so the glue joints can set completely.
If your child is gluing small overlapping pieces like arms, hands, and legs, using a standard solid glue stick works much better than wet liquid school glue. Liquid glue can soak through thin construction paper and cause the limbs to curl, whereas a glue stick dries flat and clean.
Have your child press down gently on each shoulder and hip joint for ten seconds so none of the limbs wiggle loose during play.
Step 6: Attach the Bamboo Skewer Handle
You can leave your creation as a flat paper character for fridge art, but my son immediately said, “Mom, I want to carry it around and play with it outside!”
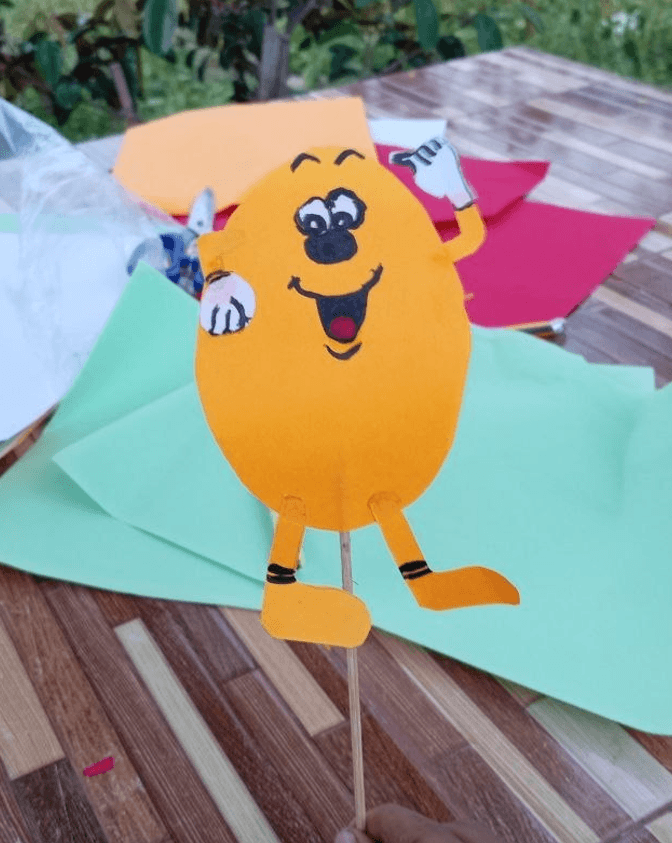
We took a smooth wooden bamboo skewer, snipped off the sharp point with scissors for safety, and secured the top half of the stick straight down the center of the puppet’s back using glue and a strip of tape.
Make sure the stick reaches at least halfway up the back of the oval body so the head does not flop forward when your child waves it around. Within minutes, Happy Potato was out on our patio table putting on his very first show.
Why I Use Puppet Making in My 2nd-Grade Classroom
As an elementary teacher, I love crafts that double as sneaky learning tools. When children design a puppet and act out scenes, they are practicing several core classroom skills without feeling like they are doing homework:
- Story Sequencing and Dialogue: Even reluctant writers light up when they hold a puppet. Inventing a conversation between two characters teaches kids how to build a natural beginning, middle, and end to a story.
- Fine Motor Coordination: Sketching curves, aligning tiny paper hands, capping markers, and balancing a stick puppet all strengthen the small hand muscles kids rely on for neat handwriting.
- Creative Confidence: Shy children who hesitate to speak up in front of a group will often talk boldly when they are speaking through a funny character like a smiling yellow potato.
Puppet Show Ideas That Spark Storytelling
Once the handle is secure, the real fun begins. Making one puppet is great, but creating two or three gives your kids an entire cast of characters to interact with.
At home, we often turn our living room couch into a theater—my son ducks down behind the cushions and pops his puppets up over the backrest while I sit in the audience.
If your kids need a quick spark to get their story rolling, try one of these prompts:
- Character Interview: Ask your child’s puppet three silly questions—what is its name, what is its favorite snack, and what makes it laugh?
- First Meeting: Have two homemade puppets bump into each other for the first time and introduce themselves in funny voices.
- Bedtime Story Remix: Let your child retell their favorite picture book using their new stick puppet as the main hero.
- A Busy Day at the Market: Act out a playful shopping trip where the puppet opens a tiny pretend food stall.
If you are looking for more ways to entertain the kids without screens, check out my guide on Easy Blanket Fort Activities for Siblings With a Big Age Gap.
Easy Variations and Craft Box Tips
- Turn simple shapes into new characters: Once your child masters an oval potato, they can use triangles and rectangles to build a crunching carrot, a silly banana, a cardboard robot, or a family pet.
- Raid the recycling bin: Empty cereal boxes, old birthday wrapping paper, and leftover envelopes make sturdy puppet bodies when you run low on cardstock.
- Swap the handle: Wide wooden popsicle sticks, spare takeout chopsticks, or smooth twigs from the yard all make great handles if you don’t have bamboo skewers on hand.
- Use clear tape for instant play: When attaching the stick to the back of the paper, a strip of clear packing tape or masking tape holds the skewer tight right away so impatient kids don’t have to wait for wet glue to dry.
You do not need a trip to the toy store to kick off an imaginative afternoon. With a handful of paper scraps and 15 minutes at the table, your kids can build a one-of-a-kind character and jump straight into their own world of stories.
Happy crafting!
Disclaimer: The ideas and routines shared on TheParentings reflect my personal experiences as a mother and primary school teacher. This content is for informational purposes only and is not a substitute for professional medical, developmental, or psychological advice. Always consult your pediatrician with specific concerns regarding your child’s health or safety.
