

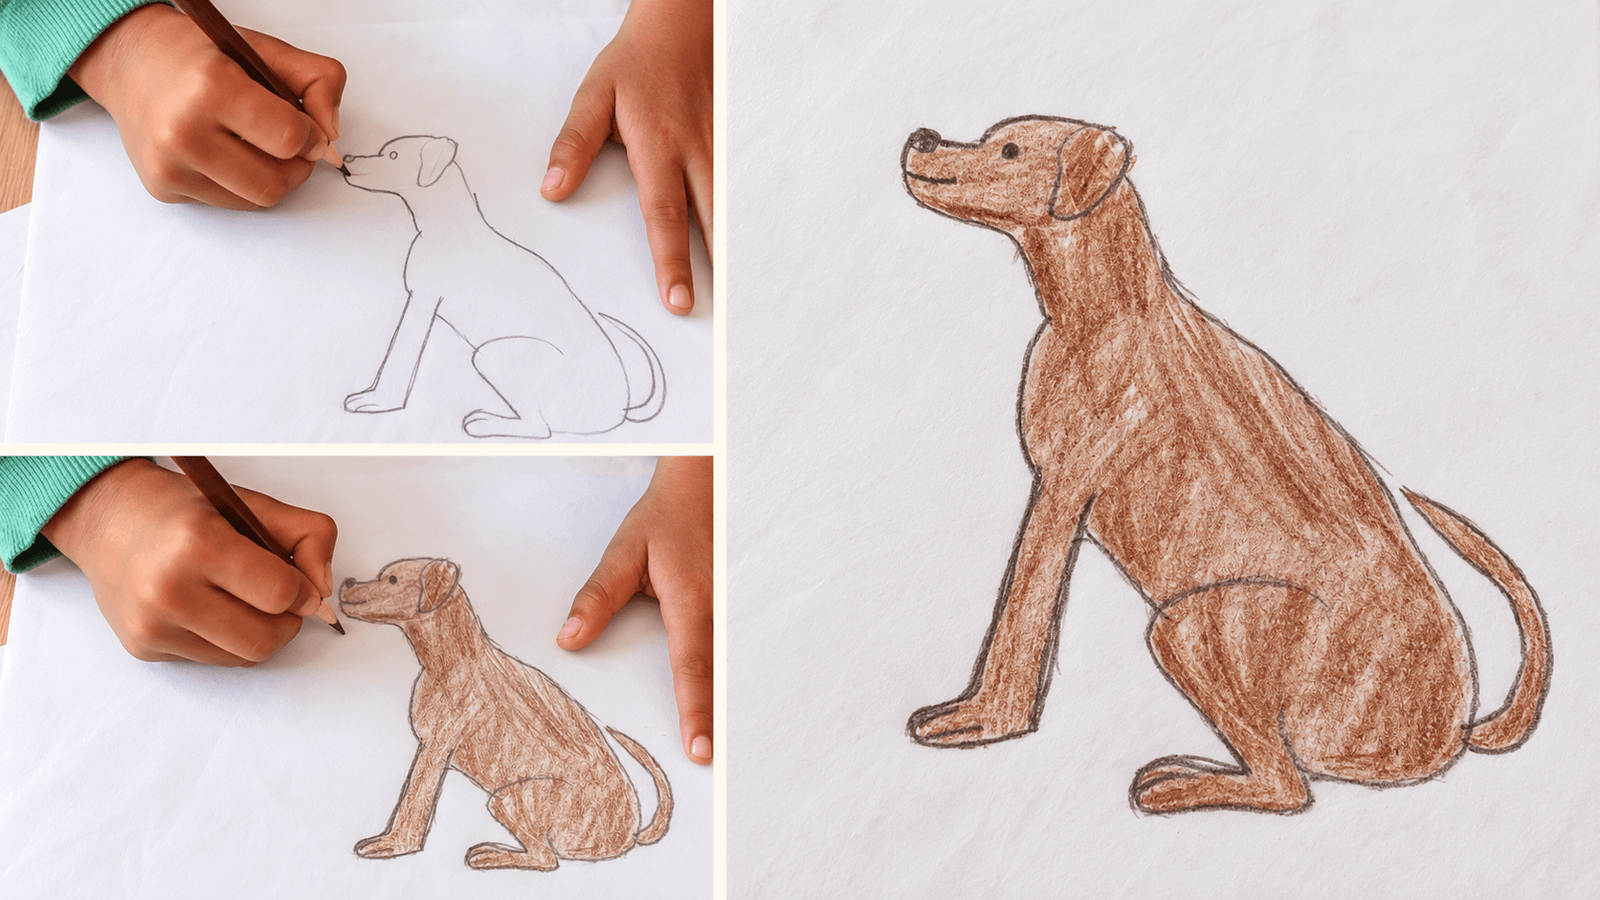
Whenever I need about 20 minutes of quiet time in the afternoon, I reach for blank paper and pencils. It is one of my favorite calm activities for kids at home. As a 2nd-grade teacher, I see every day how simple sketching helps children practice pencil control, stay focused, and build the confidence to play independently.
Last Sunday afternoon, I sat at the table grading my 2nd-grade students’ assignments with my 8-year-old son beside me. We chatted back and forth while I worked: “You need to pull the pencil down like this…”, “What color do you want to make his fur?”, “Oh! That leg doesn’t look quite right, let’s try that line again…”
Twenty minutes later, a neat little sitting dog had taken shape on his paper, and I finished my stack of grading at the same time.
A blank page can leave kids unsure of where to begin. If I simply say, “Go draw something,” my son will almost always tell me he doesn’t know what to draw. But when I give him clear, step-by-step guidance, he happily sits down and gets to work.
Using just a regular graphite pencil, an eraser, and a brown colored pencil, we broke the sketch down together into four manageable steps.
Here is how you can guide your child through drawing a sitting dog the same way.
Quick Activity Overview
- Target Age: 6 to 9 years old (1st through 3rd grade)
- Total Time: 20 minutes (about 10 minutes to sketch and 10 minutes to color)
- Skills Practiced: Fine motor control, pencil pressure, spatial awareness, and hand-eye coordination
What You Need for This Drawing Activity
You only need four basic supplies from your desk drawer to get started:
- Blank white paper (a couple of sheets stacked together makes a softer surface for sketching)
- A regular graphite pencil for outlining
- An eraser for cleaning up extra sketch marks
- Colored pencils (my son chose a single brown colored pencil for his dog)
How to Guide Your Child Through the Drawing, Step by Step
My son did not draw this completely on his own from scratch. I sat right next to him and talked him through each part with simple verbal cues like, “Pull your pencil to the left, make a gentle curve, and add a dot for the eye.” I gave the instructions one line at a time, and he followed along on his paper.
Because I teach 2nd grade, I naturally explain drawing the same way I do in my classroom: breaking big shapes into small, non-intimidating lines. Moving one line at a time keeps young beginners from feeling overwhelmed and makes this tutorial ideal for 2nd graders and other early elementary artists.
Step 1: Draw the Head, Floppy Ear, and Snout
When teaching children how to sketch animals, the easiest approach is to start at the top of the page and work your way down.
First, have your child draw a gentle curved line for the top of the head, looping it down on the right side to form a floppy ear hanging down.
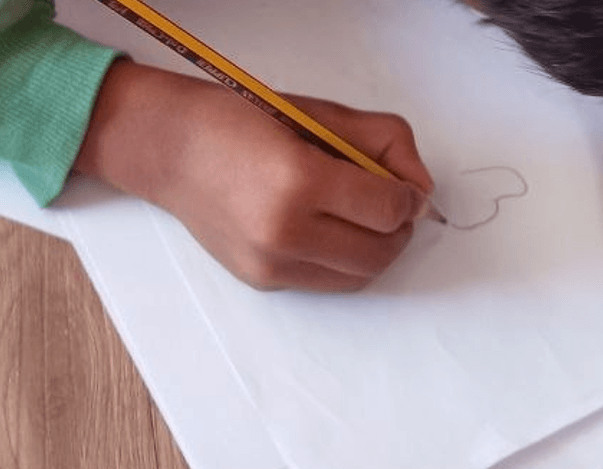
Next, guide them to draw the snout sticking out to the left side of the head, adding a small curved line underneath for a friendly smile. Finish the face with a small dot for the eye and a shaded circle at the tip of the snout for the dog’s nose.
Step 2: Draw the Back, Hind Leg, and Wagging Tail
Once the head and face are ready, have your child draw a long, slightly curved line extending down from behind the ear and neck to form the dog’s back.
Originally, our plan was to draw a standing dog, but halfway through this step my son paused and said, “Mom, I want to draw Mr. Tony sitting instead.”
I asked, “Oh, why is that?”
He replied, “Because when I come home from school, he’s always sitting there waiting and watching for me.” I smiled and said, “Okay, let’s make him sit!”
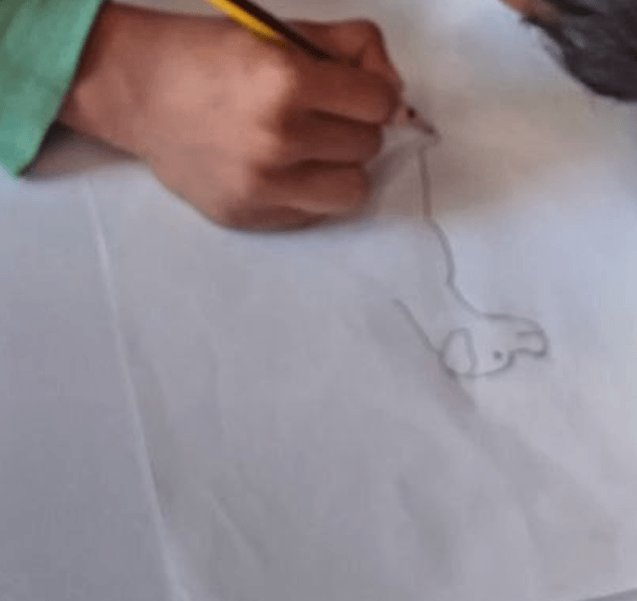
Since the dog is sitting in profile, have your child draw a rounded, C-shaped curve at the bottom of the back line to form the bent hind leg and paw resting on the ground. Then, add a happy, curved tail sticking up from the lower back.
Getting the curve of the sitting hind leg right was the trickiest part for my son—he actually had to erase and redraw that curve three times before he was happy with how it looked!
Step 3: Add the Front Leg, Paws, and Belly Line
Now the dog needs its front leg so it can prop itself up.
Since we are looking at the dog from the side, your child only needs to draw one front leg in profile. Have them draw two nearly straight, parallel lines slanting slightly forward from the chest area, connecting them at the bottom with a small horizontal loop for the front paw.

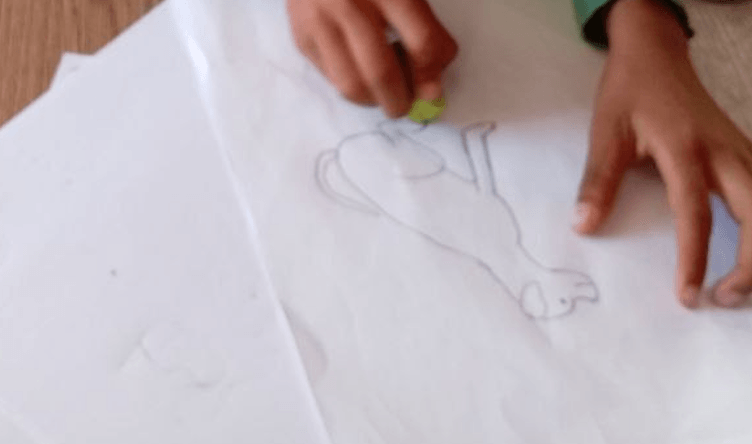
Next, finish the body outline by connecting the back of the front leg to the hind leg with a short line for the dog’s belly. Once all the body parts are connected, have your child gently go over the sketch with an eraser to clean up any overlapping pencil marks. (As you can see below, my son put his little green eraser to good use around the legs before moving on to coloring!)
Step 4: Color the Sitting Dog
This is the most relaxing part of the activity because your child gets to decide their dog’s personality and coat pattern. They can create a spotted Dalmatian, a black puppy, or a golden retriever.
My son decided he wanted a solid brown dog just like Mr. Tony, so he swapped his regular pencil for a brown colored pencil and began filling in the outline.

Encourage your child to take their time and use smooth, even strokes inside the lines. Unhurried coloring is wonderful practice for hand strength and pencil control—the same fine motor muscles kids rely on for neat handwriting at school—without ever feeling like homework.
The Finished Sitting Dog (And How to Extend the Activity)
After about 10 minutes of sketching and 10 minutes of careful coloring, my son had an adorable brown sitting dog right in the center of his page!

If your child finishes early and wants an extra challenge, invite them to draw a background scene around their pet. You can prompt their imagination by asking:
- “Where is your dog sitting right now? Is he out on the green grass or on the living room rug?”
- “What is he waiting for? Should we draw a food bowl, a doghouse, or a tennis ball next to his paws?”
Adding a background scene and coloring it in can easily stretch a 15-to-20-minute drawing session into 30 minutes of focused, screen-free play.
Classroom Tips: How I Help 2nd Graders Who Get Frustrated With Drawing
Both in my 2nd-grade classroom and at home at my kitchen table, I notice that kids around age 7 or 8 start caring much more about whether their drawings look “real.” If your child gets frustrated halfway through a sketch, here are three simple tricks I use with my students:
- Teach the “Light Pencil” Rule First: Kids naturally press down very hard with their pencils, which makes mistakes tough to erase cleanly. Before starting Step 1, tell your child to pretend their pencil is a feather and sketch lightly until they are happy with the shape.
- Use the Two-Finger Starting Spot: Young artists often start drawing the head right at the bottom edge of the paper and run out of room for the legs. Have your child place two fingers near the upper-middle section of the blank page to mark where the dog’s head should start.
- Normalize Using the Eraser: When my son had to erase the hind leg three times, I reminded him why pencils come with erasers in the first place. Letting kids know that redrawing a line is a normal step—not a mistake—keeps them from crumpling up their paper.
More Simple Animal Drawing Ideas for Kids
Once your child masters this top-to-bottom method—starting with the head, working down the back, adding the legs, and finishing with color—they can use the exact same approach to sketch almost any animal.
Next time you need a quiet afternoon activity together, grab a fresh sheet of paper and try guiding them through a sitting cat, a perched bird, or a floppy-eared rabbit.
Disclaimer: The ideas and routines shared on TheParentings reflect my personal experiences as a mother and primary school teacher. This content is for informational purposes only and is not a substitute for professional medical, developmental, or psychological advice. Always consult your pediatrician with specific concerns regarding your child’s health or safety.
