

We’re in the middle of rainy season here in Asia, so most afternoons come with rain right on schedule.
When you are stuck indoors for days on end, keeping toddlers entertained without resorting to screens can feel like a full-time job. But last Saturday, around 3 o’clock, the sky actually cleared up. I wasn’t going to waste it.
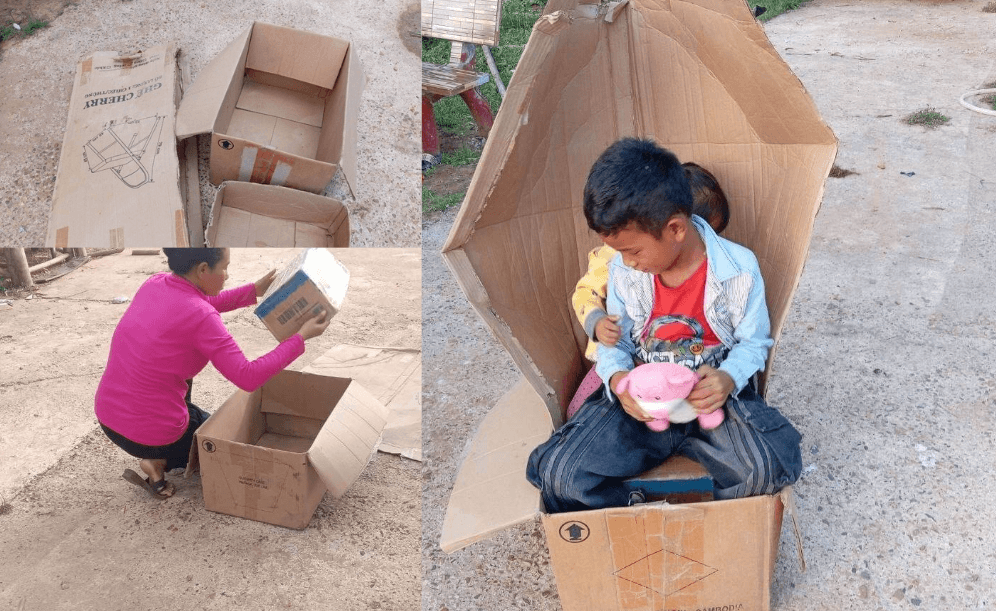
I grabbed three empty cardboard boxes that were sitting by the door, walked out to our little garden, and, in about three minutes, turned them into a cardboard-box car with no wheels for my 3-year-old daughter and 8-year-old son to share.
No glue. No paint. No trip to the store for supplies. Just tape, three boxes, and a patch of garden.
Here’s exactly how it came together, what happened once the kids got their hands on it, and why this zero-cost activity is going into my regular parenting toolkit.
Where We Got the Boxes (And Which Ones Work Best)
If your house is anything like mine, you probably have a steady stream of delivery boxes coming through.
For this project, you don’t need heavy-duty appliance boxes, but you do want corrugated cardboard rather than flimsy shoe boxes.
The standard, medium-thickness delivery boxes are perfect because they are sturdy enough to hold a toddler’s weight but light enough for kids to push each other around.
I used boxes that had just arrived that week, which made the whole project feel like a free bonus activity.
Why We Skipped the Wheels
The paths around our garden are hard concrete, not grass or dirt, so wheels felt like the wrong call.
A box that rolls freely on concrete can pick up speed faster than you’d expect, and that’s not something I wanted to manage while keeping an eye on two kids at once.
So I left the wheels off entirely. Instead, the car only moves when someone pushes or pulls it, which turned out to be half the fun anyway.
My son and daughter spent the whole afternoon trading off, one riding while the other pushed, then switching roles on their own without me having to referee.
If your kids will be playing on a hard surface too, building this cardboard car without wheels is worth considering for that reason alone.
What You Need for This Cardboard Box Car
- 1 small box – square and empty; this becomes the seat
- 1 main box – slightly larger and rectangular, this is the car body
- 1 long box – rectangular and empty, this becomes the windshield and canopy
- Double-sided tape
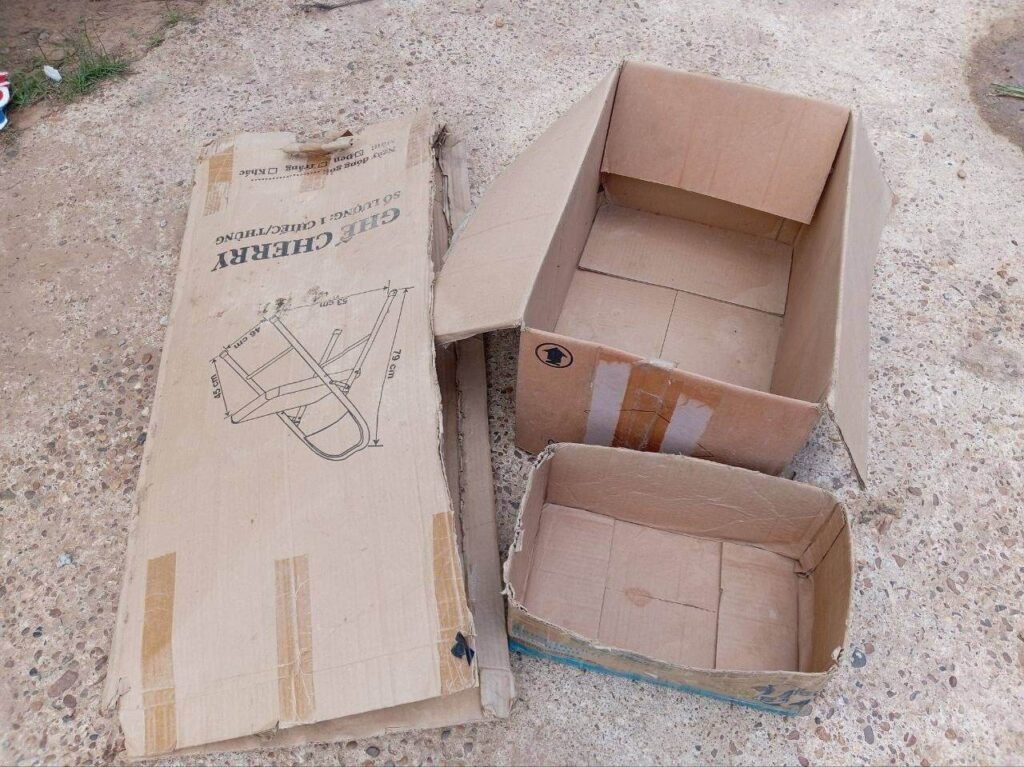
That’s the entire list. No craft knife, no paint, no glue gun. If you’ve got a few boxes sitting around after a delivery, you likely already have everything on hand.
How to Build a Cardboard Box Car in 3 Simple Steps
Step 1: Create the body
Take the large rectangular box and set it up as the main body of the car.
This is your starting frame, and everything else gets built into it. Ensure the bottom flaps are taped flat so it slides easily across the ground without catching.
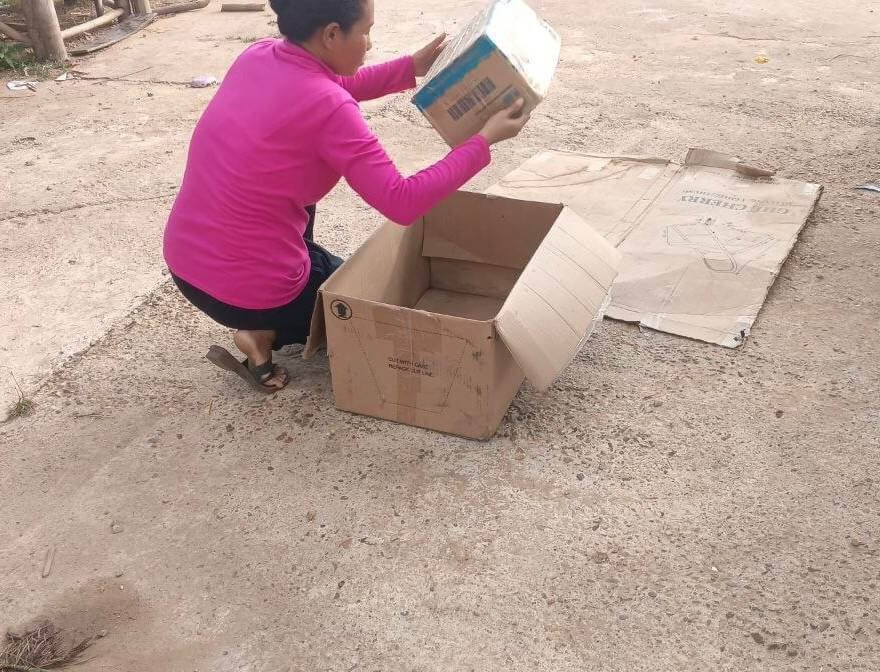
Step 2: Add the seat for stability
Take the small square box and run double-sided tape around its edges. Press it firmly inside the main car body.
This one step makes a bigger difference than it sounds like it should. It gives the whole structure balance and gives the kids a sturdy spot to sit while they ride.
Step 3: Attach the windshield and canopy
Unfold the long rectangular box so it lies flat, then tape it firmly to the back of the car body and stand it upright. Press the tape down well so it doesn’t catch the wind and peel loose.
I found that applying two strips of double-sided tape provided the extra grip needed to withstand an active toddler.
That’s it. The whole build took under three minutes, and most of that was just deciding exactly where to place the tape.
Time for a Test Drive
Once it was done, I announced to the kids, “The cart is ready! Does anyone want to test ride it?”
My son corrected me on the spot. “No, no, it’s a little car, not a cart!”
I laughed and agreed. “Okay, a little car it is!”
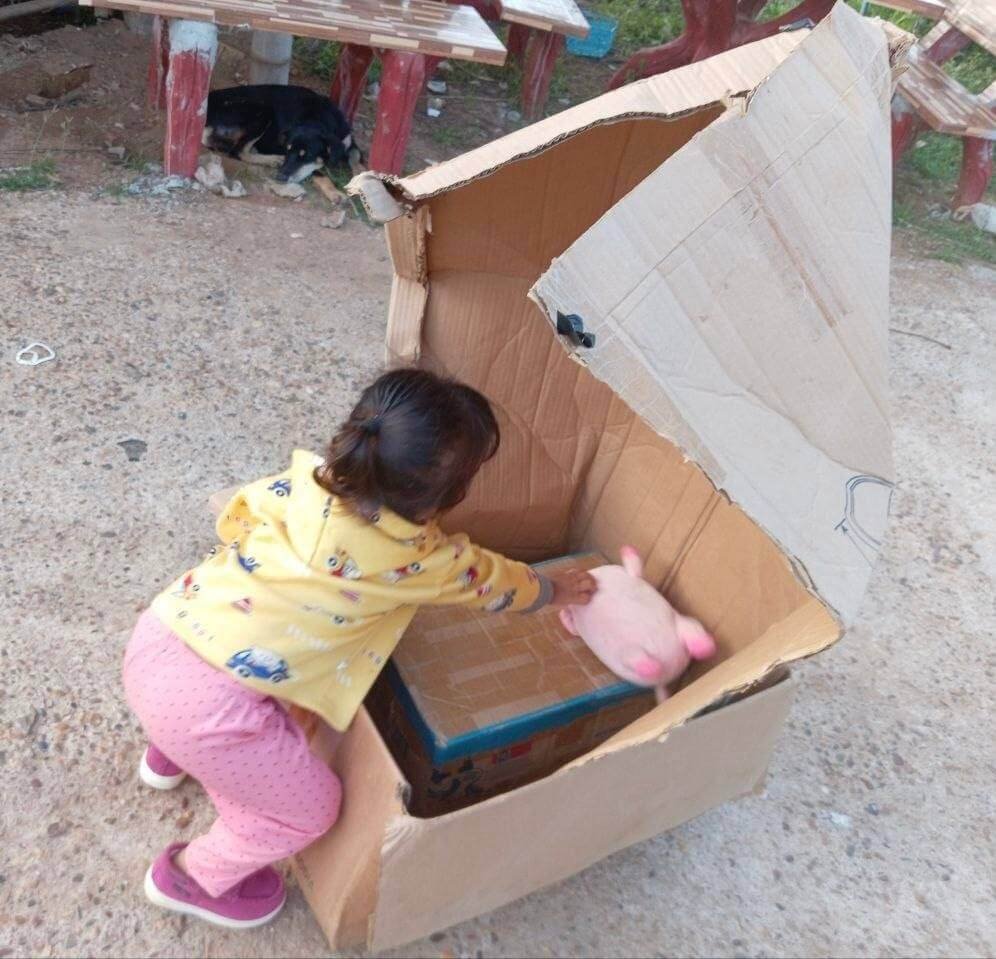
My daughter didn’t wait around for the debate to finish. She grabbed her plush toy, climbed toward the box, and gave it the very first ride, pushing it back and forth by herself before anyone else got a turn.
The Real Joyride
Soon after, she climbed in herself, and her big brother took over pushing and pulling her along the garden path. I heard him call out, “Brother’s turn to ride!” not long after that, and the two of them just kept swapping places from there.
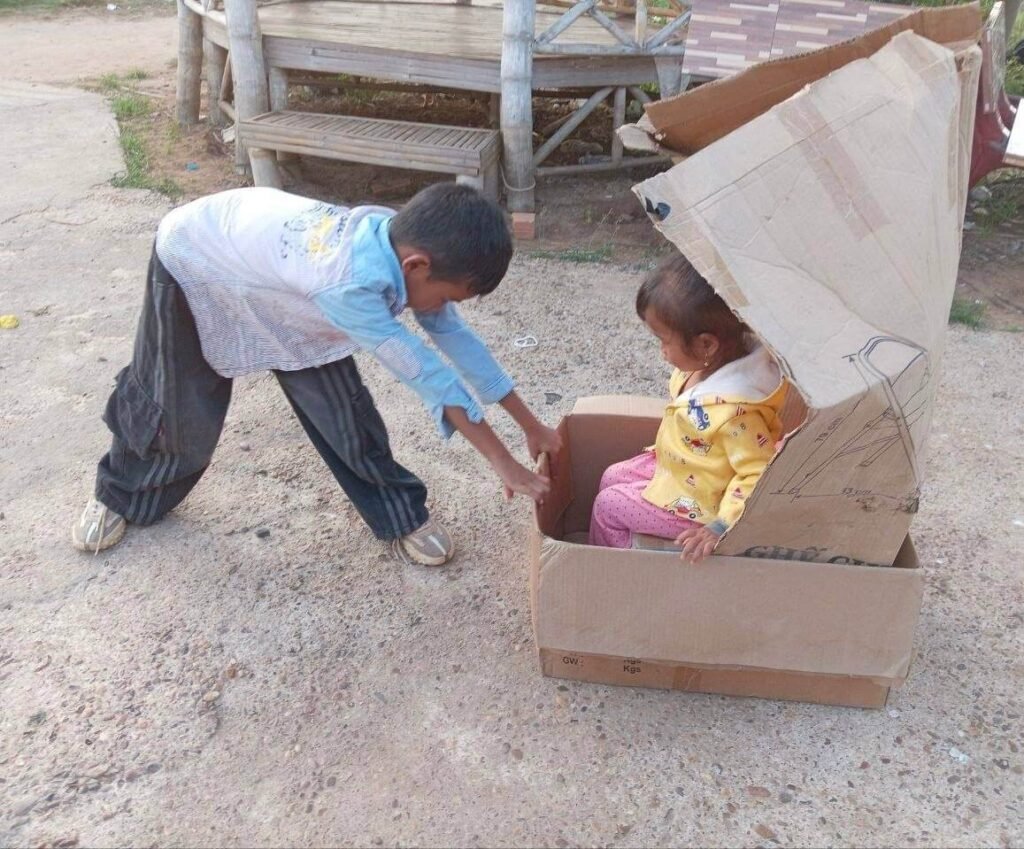
Before long, the sound of “Vroom, vroom!” from both kids was echoing across the whole garden. My son took a turn driving solo too, getting fully into character with his own version of the ride.
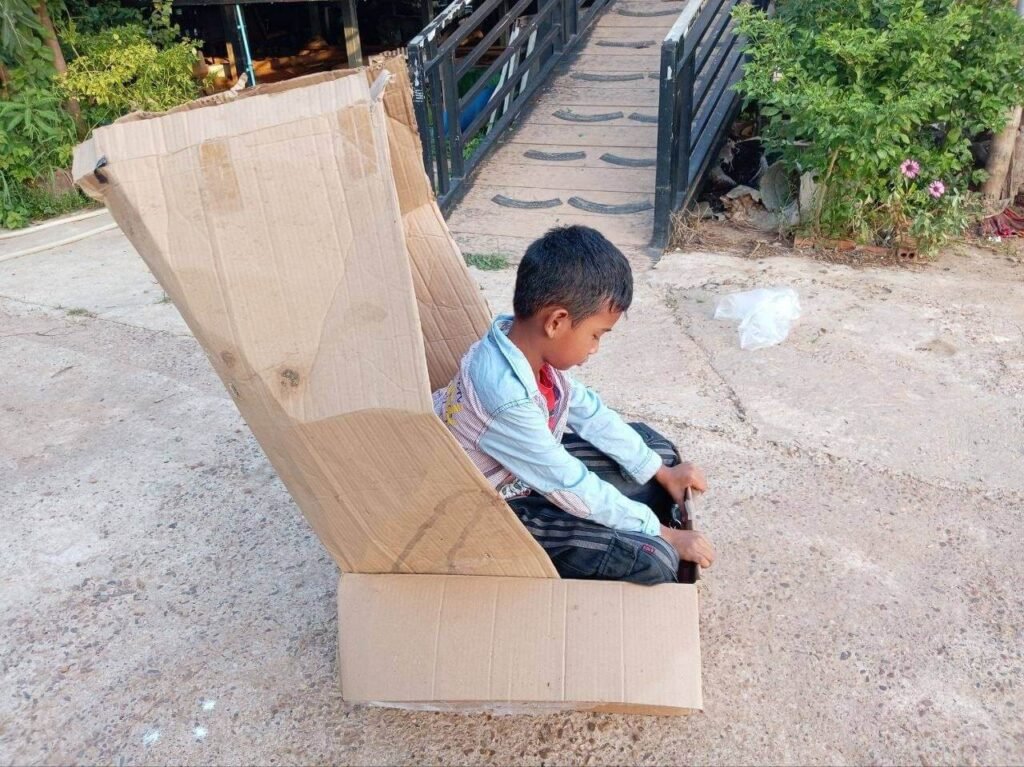
The Ultimate Durability Test
At one point, my daughter climbed right in behind her brother while he was mid-drive and sat down just behind him.
Watching them both make driving motions and yell “Vroom, vroom!” together, sharing one little cardboard car built from spare boxes, was one of those moments I didn’t expect to feel so happy about.
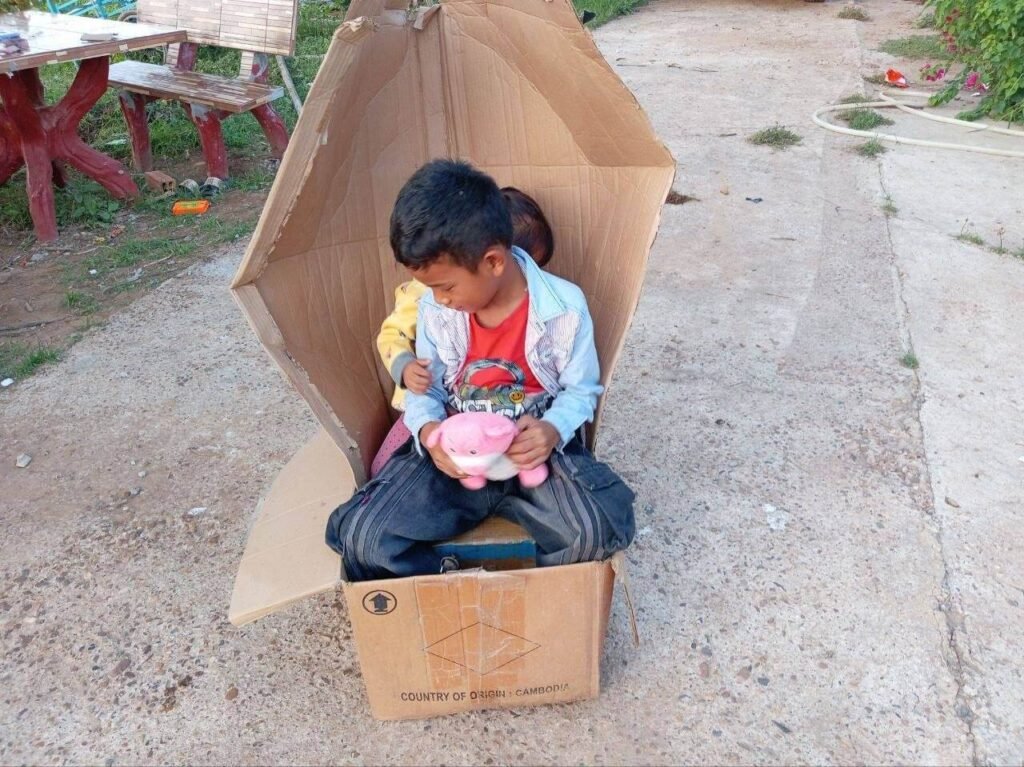
The double-sided tape held through all of it. Given that this whole project cost nothing but a few minutes and materials we already had lying around, that’s a pretty solid result.
Ideas for Next Time (When the Rain Comes Back)
Since this activity was such a hit, I’m already thinking of ways to upgrade it the next time we get rained in. We could easily pull out some washable markers and let the kids color the outside to look like a real race car.
Alternatively, gluing a couple of paper plates to the sides could simulate wheels without actually adding the rolling hazard, and another paper plate attached inside could serve as a fun steering wheel!
The Easiest Cleanup Ever
One of my biggest pet peeves with DIY crafts is the mess left behind.
With this cardboard car, cleanup was nonexistent. Because it is held together only with double-sided tape, I could easily pop the pieces apart when they were done, flatten the boxes, and slide them directly into the recycling bin. No glue drips, no paint spills to wipe up, and no bulky plastic toys cluttering the living room.
Give It a Try
This whole cardboard box car came together with no wheels, no paint, and no glue, just three boxes and a roll of double-sided tape.
What made it worth the three minutes wasn’t really the box itself. It was watching two kids who don’t always agree on much spend an entire afternoon trading turns over something we were about to throw away.
If you’ve got a few spare boxes and a clear patch of concrete or floor, it’s worth setting fifteen minutes aside this weekend to build your own. I’d love to hear how your kids name theirs, since ours are still arguing over whether it’s a car or a cart.
Disclaimer: The ideas and routines shared on TheParentings reflect my personal experiences as a mother and primary school teacher. This content is for informational purposes only and is not a substitute for professional medical, developmental, or psychological advice. Always consult your pediatrician with specific concerns regarding your child’s health or safety.
